

Crow manuals
Runner LED / LCD keypad cheat sheet
Arm (away)the key with a padlock on it
- Close doors and windows first. A lit zone light, or a zone shown on an LCD screen, means that zone is still open.
- Key in your code, then press ENTER (the bent-arrow key on a symbol keypad). The keypad beeps slowly through the exit time: leave now.
- The A or B light comes on for the armed area (an LCD screen shows it). It may go out soon after, depending on setup.
- Pressing ARM during the exit beeps cancels arming, if your installer allows it. Otherwise use your code and ENTER.
- Quick arm: ARM on its own (the padlock the key with a padlock on it on a symbol keypad) also arms the system, if your installer allows it.
Arm while homethe key with a house with a person in it on it
- Stay mode guards the outside doors and windows but ignores movement inside.
- Press STAY (the key with a house with a person in it on it on a symbol keypad). From the factory that alone arms stay mode. The A or B light flashes (LCD: Stay).
- The keypad beeps slowly through the exit time. ENTER during it arms at once, and then there is no entry delay until you disarm.
- If your installer has set it to ask for your code, press STAY, key in your code, then press ENTER instead.
- To disarm, key in your code and press ENTER, or press STAY if your installer allows it.
Pages 7 and 8, 11, 20, 25 of the Runner Series 8 and 16 Zone User's GuidePage 10 of the 7101585-RUNNER User GuideBent-arrow key ENTER on a symbol keypad Disarm
- Come in by the entry door. The keypad beeps slowly while the entry time runs.
- Key in your code, then press ENTER (the bent-arrow key on a symbol keypad).
- The A or B light goes out (an LCD screen shows Disarmed).
- Code and ENTER also stop an alarm and silence the sirens, at any time.
- Forced to disarm? Put your duress digit before your code (8 and 345 make 8345), then ENTER. It disarms and quietly reports duress, if set up.
Pages 7 and 8, 10, 12, 20, 24, 27 of the Runner Series 8 and 16 Zone User's GuideBent-arrow key ENTER on a symbol keypad Bypass a zone
- Bypass only while disarmed, and only on zones your installer allows. A bypassed zone is not protected.
- Press BYPASS (a house with a grid on a symbol keypad): the Bypass light comes on. Key in each zone as two digits, such as 05.
- Press ENTER. On an LED keypad the Bypass light flashes; an LCD keypad shows the bypassed zones. Then arm as usual.
- To undo one, press BYPASS, key in the zone number, then press ENTER.
- Disarming clears the bypasses, except on 24-hour zones: undo those yourself.
Pages 7, 11 and 12, 20, 26 of the Runner Series 8 and 16 Zone User's GuidePage 103 of the Runner Series 8/16 Zone Installation and Configuration GuideHouse with a grid BYPASS on a symbol keypad Bent-arrow key ENTER on a symbol keypad Alarm memorythe key with three lines on it
- Press MEMORY (the key with three lines on it, lines in a box, on a symbol keypad). Current faults show first, then past events, newest first.
- Events move on by themselves every 2.5 seconds. Press MEMORY to step through them yourself.
- The panel keeps the last 255 events.
- Press ENTER (the bent-arrow key on a symbol keypad) to leave the memory.
Chime on or offCtrl+P
- Chime works only if your installer has set up a chime zone. It can sound a buzzer or turn on a light when that door opens.
- LED keypad: press CONTROL and PROGRAM together (Ctrl and P on a symbol keypad). The Control light comes on: chime is off.
- Press them together again to turn chime back on. The Control light goes out.
- LCD keypad: hold CHIME (the bell on a symbol keypad) for 2 seconds. The screen says whether chime is on or off.
Panic alarmthe key with a shield on it
- Your installer decides what the emergency keys do. They reach a monitoring company only if your system is monitored.
- LED keypad: press PANIC (the key with a shield on it on a symbol keypad), or 1 and 3 together if your installer has turned that on.
- LED keypad: 4 and 6 together send a fire alarm, and 7 and 9 a medical alarm, if turned on.
- LCD keypad: CONTROL and CHIME together is panic (Ctrl and the bell on a symbol keypad). A and B is fire, and CHIME and B is medical, if turned on.
Change a code
- While disarmed, press PROGRAM (PROG on the text LCD keypad, P on a symbol keypad), the master code, then ENTER. The Program light comes on (LCD: Client).
- Press PROGRAM, 1, ENTER, then the user number and ENTER. User 1 is the master code; the others are 2 to 100.
- The old code shows. Key in the new one (1 to 6 digits) and press ENTER. Three short beeps: saved. One long beep: not accepted.
- To delete a user, after the user number and ENTER press BYPASS (LCD keypad: CONTROL and 0 together), then ENTER.
- To leave: LED keypad, PROGRAM then ENTER; LCD keypad, hold PROG for 2 seconds. Remember your new master code.
Pages 7, 15 and 16, 20, 29 and 30 of the Runner Series 8 and 16 Zone User's GuidePage 47 of the Runner Series 8/16 Zone Installation and Configuration GuideP and a pencil PROGRAM on a symbol keypad Bent-arrow key ENTER on a symbol keypad House with a grid BYPASS on a symbol keypad Test the systemholdCtrl+0
- Walk test: press PROGRAM, the master code and ENTER. Then press PROGRAM, 200, ENTER, 6, ENTER. The keypad keeps beeping.
- Set off every detector and open each door, then come back: the keypad shows each zone that was triggered.
- Press ENTER to stop; the results go into memory. On an LCD keypad, hold PROG for 2 seconds to leave programming.
- Monitored systems: hold CONTROL (Ctrl), then 0, until the Line light comes on (LCD: Dialler Active). This sends a test call.
- The test call requires Contact ID monitoring and test reporting enabled by your installer.
Pages 7, 17, 20, 31 of the Runner Series 8 and 16 Zone User's GuidePage 47 of the Runner Series 8/16 Zone Installation and Configuration GuideP and a pencil PROGRAM on a symbol keypad Bent-arrow key ENTER on a symbol keypad Ctrl CONTROL Trouble lights
- A fault turns on the Tamper light: a spanner on a symbol keypad, TROUBLE on a text LCD keypad.
- Press MEMORY (the key with three lines on it on a symbol keypad): current faults show first.
- LED keypad: while the faults show, zone lights 1 to 8 stand for the faults below. An LCD keypad names the fault on screen.
- If your installer turned it on, a mains, battery, fuse, phone line or receiver fault beeps the keypad non-stop until it clears.
- LED or LCD keypad: ENTER (the bent arrow on a symbol keypad) silences it. A panel tamper beeps until your code clears it. If a fault stays, call your installer.
Pages 7 and 8, 13, 20 and 21, 27 of the Runner Series 8 and 16 Zone User's GuidePage 12 of the 7101585-RUNNER User GuideLight 1 Backup battery low Light 2 Mains power failure Light 3 Phone line failure Light 4 Wireless detector battery low Light 5 Remote (pendant) battery low Light 6 Supervised detector failure Light 7 Zone inactivity timeout Light 8 The dialler couldn't get a report through Send a test signalholdCtrl+0
- On a monitored Runner, this sends a manual test call to your monitoring company.
- LED keypad: hold CONTROL (Ctrl) and press 0 straight away. Keep both held until the Line light (a phone symbol) comes on.
- LCD keypad: the same keys, held until the screen shows Dialler Active.
- It works only with Contact ID monitoring, and if your installer has set test calls to report.
Crow keypads
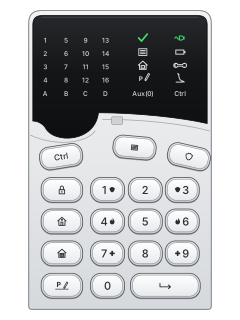
Runner LED keypad
7 manuals
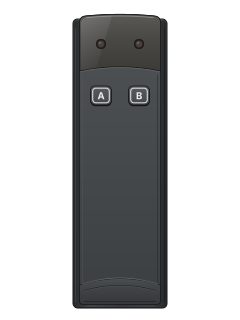
PW-Reader 2K proximity arming reader
7 manuals
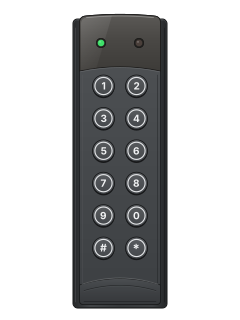
PW-Reader FK proximity + PIN reader
7 manuals
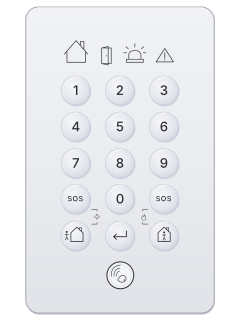
Shepherd SH-KP icon wireless keypad
7 manuals
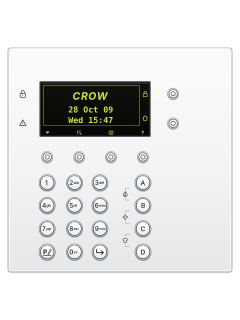
Runner OLED keypad
7 manuals
Every Crow manual
User guides 3
Installer manuals 4
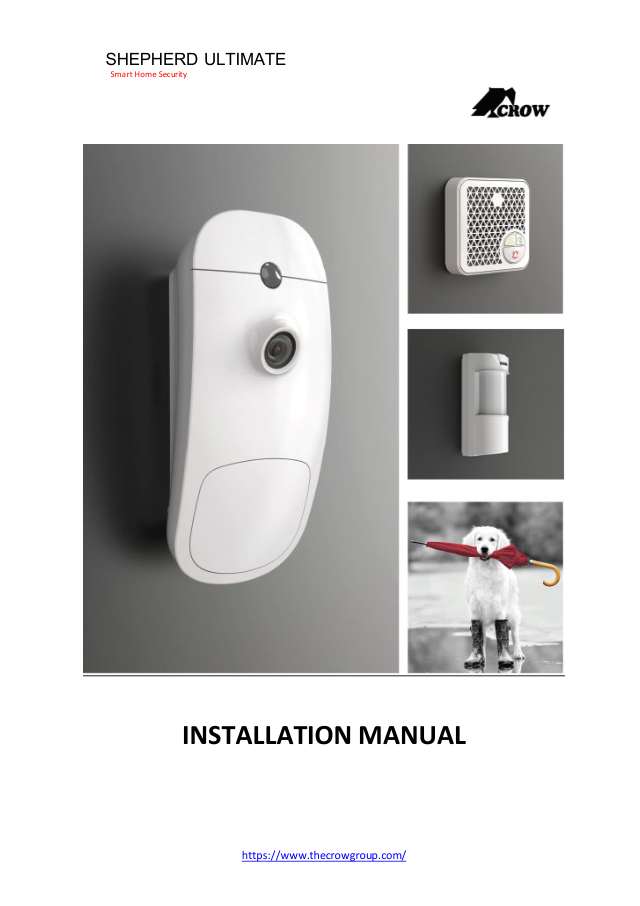
Nothing here matches that.
Try a shorter search, or search every brand.










Is anyone watching your alarm?
An alarm that only makes a noise relies on someone hearing it. A monitored alarm reports to our A1 graded, NZSA approved control room, watched 24/7 by a team that is New Zealand owned and operated. We can monitor most existing alarms, so you may not need a new one. Thinking about a new alarm or security cameras? Ask us for a quote.
Prefer to talk now? Call us on 0800 339 999.
Home: alarm monitoringBusiness: business monitoringInstaller: bureau monitoring

Manuals are the property of their manufacturers and are provided for reference only; their inclusion here does not imply any endorsement by the manufacturer.