
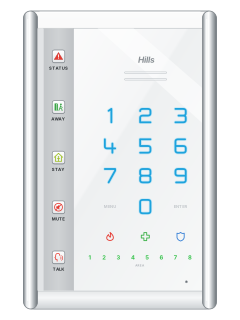
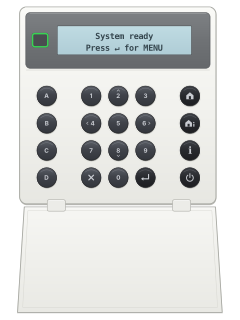
Hills VoiceNav keypad

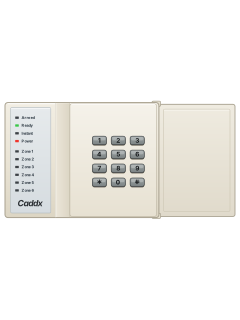
Caddx NX Reliance ComNav manuals
Start hereHills VoiceNav Keypad User ManualUser guide · 24 pages · 958 KBRead it nowVoiceNav keypad cheat sheet
Arm (away)your codeorAWAY
- Shut the doors and windows and make sure everyone has left. The STATUS key should be lit green.
- Key in your 4 or 6 digit code. If your service provider has turned on quick arming, touching AWAY does it.
- Leave straight away. The AWAY key lights red while the system is armed in Away mode.
- With forced arming set up, you can arm with some doors still open; the VoiceNav names the zones not yet closed.
- Several areas (AWAY and STAY unlit)? Key in your code, then AWAY for all your areas, or an area number then AWAY for one.
Arm while homeSTAY
- Stay mode usually arms the doors and windows and leaves the inside motion detectors off, so you can move about.
- Shut the doors and windows, and keep out of rooms whose detectors are in Stay mode. STATUS should be green.
- Touch STAY. The STAY key lights yellow.
- If an armed zone is set off, the VoiceNav gives a warning tone first, then the sirens sound.
- With more than one area (AWAY and STAY both unlit), key in your code first and follow the voice prompts.
Disarmyour code
- Come in through your entry door. If the system picks you up, the VoiceNav repeats a reminder through the entry time.
- Key in your 4 or 6 digit code. Disarming always takes a code.
- If the entry time runs out first, the sirens sound and the alarm is sent out.
- Several areas: your code turns off only the area you came in by. Key in your code again, then 0, for the rest.
Bypass a zoneMENU1zoneENTER0
- The system must be off. Each detector or door contact is a zone; a bypassed (isolated) zone can't set off an alarm.
- Touch MENU, then 1. Key in the zone number and touch ENTER (zone 12 is 1, 2, ENTER).
- Touch 0 to bypass it. Touching 0 again takes the bypass off.
- Touch MENU twice to leave, then arm. Touching STATUS, or arming, tells you which zones are bypassed.
- Bypasses are cleared when the system is next armed and disarmed.
Alarm memoryMENU3master code1
- A red flashing STATUS key means one or more zones are in alarm.
- Touch MENU, then 3, then key in the master code.
- Touch 1 to hear the zone or zones that caused the last alarm.
- Touch 2 instead for the event log (up to 185 events): ENTER for the next one, 0 for the one before.
- Touch MENU three times to leave.
Chime on or offMENU20
- Chime makes the VoiceNav beep when a zone in the chime group is set off. It never raises an alarm.
- Touch MENU, then 2, then 0 to turn chime on or off. Touch MENU twice to leave.
- To add a zone to the chime group, or take it out: MENU, 2, the zone number, ENTER, then 0.
- The chime group stays as it is when you arm and disarm.
Panic alarmholdthe key with a shield on itorholdthe key with a flame on itorholdthe key with a cross on it
- Hold the matching picture key for 2 seconds. Use these keys only in a real emergency.
- Ask your service provider whether they are turned on, and what response follows.
- To cancel, key in your code.
Page 9 of the Hills VoiceNav Keypad User ManualShield (police badge) key Police help. The manual also lists it for duress. Flame key Fire alarm Cross key Medical help Change a codeMENU5master code1user numberENTERnew codeENTER
- The system must be off, and you need a master code. User 1 is a master code from the start.
- Touch MENU, then 5, key in the master code, then touch 1.
- Key in the user number and touch ENTER, then the new PIN (4 or 6 digits, as your system uses) and ENTER.
- To delete a PIN, key in 0 and ENTER in place of the new one. Touch MENU three times to leave.
- A PIN someone else already uses fails with three fast beeps: pick another.
Set the date and timeMENU91master code
- Touch MENU, then 9, then 1, then key in the master code.
- Touch 1 for the time: hour and ENTER, minutes and ENTER, then AM or PM as the voice prompts (1 is AM).
- Touch 2 for the date: the day and ENTER, the month and ENTER, then the 4-digit year and ENTER.
- Touch MENU three times to leave. Each event in the log carries this time and date.
Trouble lightsSTATUS
- Touch STATUS to hear any system message, such as a fault. Touching MUTE stops a message playing.
- If a fault won't clear, call your service provider.
Page 6 of the Hills VoiceNav Keypad User ManualSTATUS green System is ready STATUS yellow A system message is waiting STATUS red, flashing One or more zones in alarm STATUS red, steady A trouble (fault) message is waiting Area light green / flashing green Ready / ready, but force-arm zones still open Area light off Not ready: a zone is open Area light red / yellow Armed Away / armed Stay Area light red, flashing That area is in alarm Send a test signalMENU4master code2
- The communicator test sends a test message to your monitoring centre. No sirens sound.
- It works only if your system dials a monitoring centre or your own phone. Ring the monitoring centre, and anyone it calls, first.
- Touch MENU, then 4, key in the master code, then touch 2. Touch MENU three times to leave.
- If it calls your own phone, whoever answers hears a siren sound. If the test fails, call your service provider.
Why is my keypad beeping or showing a trouble light?
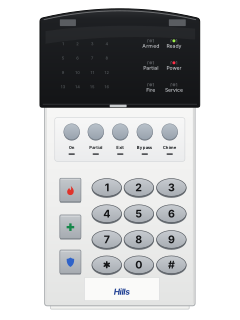
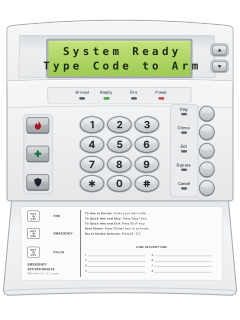
Most keypads beep or light up a trouble indicator when something needs attention, such as a low backup battery, a power cut or a lost phone or internet connection. Your user guide explains what each light or code means on your model. If it keeps happening, or you are not sure, call your installer or monitoring company.
All Caddx NX Reliance ComNav manuals
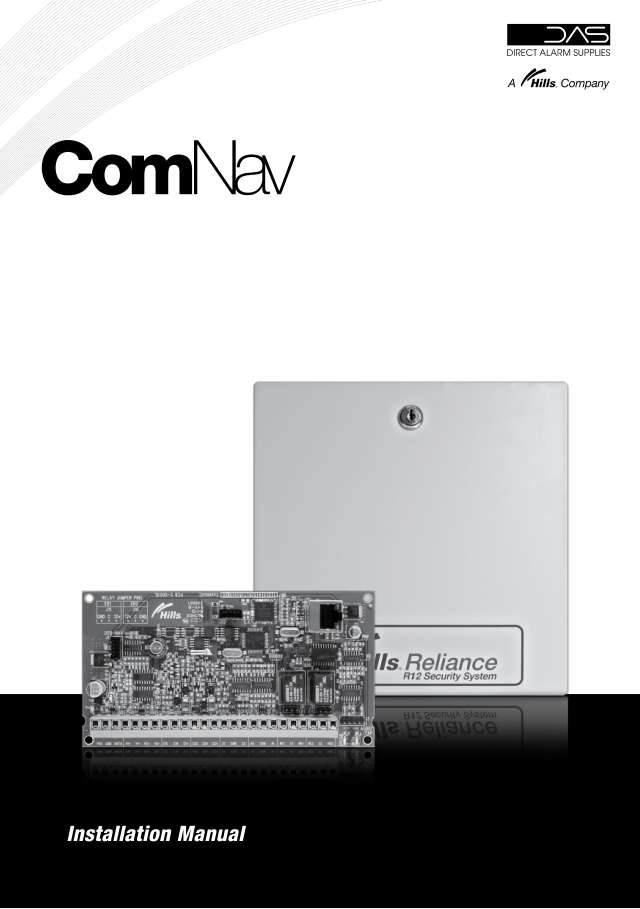
Installer manuals 1
Nothing here matches that.
Try a shorter search, or search every brand.
More Caddx NX Reliance models
Is anyone watching your alarm?
An alarm that only makes a noise relies on someone hearing it. A monitored alarm reports to our A1 graded, NZSA approved control room, watched 24/7 by a team that is New Zealand owned and operated. We can monitor most existing alarms, so you may not need a new one. Thinking about a new alarm or security cameras? Ask us for a quote.
Prefer to talk now? Call us on 0800 339 999.
Home: alarm monitoringBusiness: business monitoringInstaller: bureau monitoring

Manuals are the property of their manufacturers and are provided for reference only; their inclusion here does not imply any endorsement by the manufacturer.