
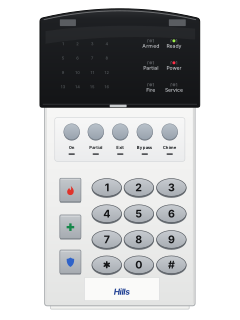
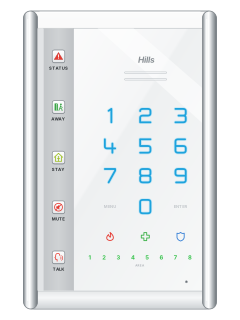
Hills / DAS VerteX vertical LED code pad

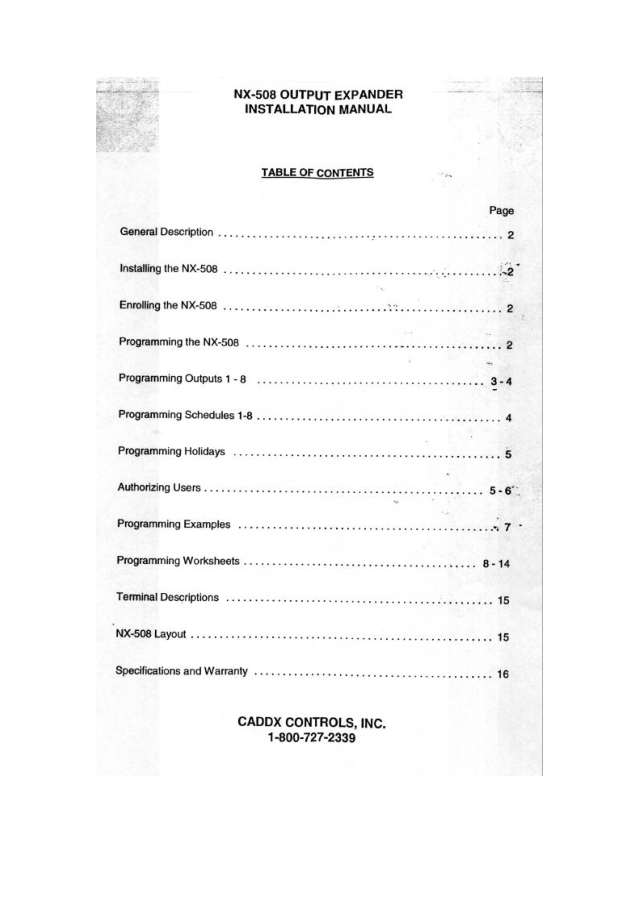
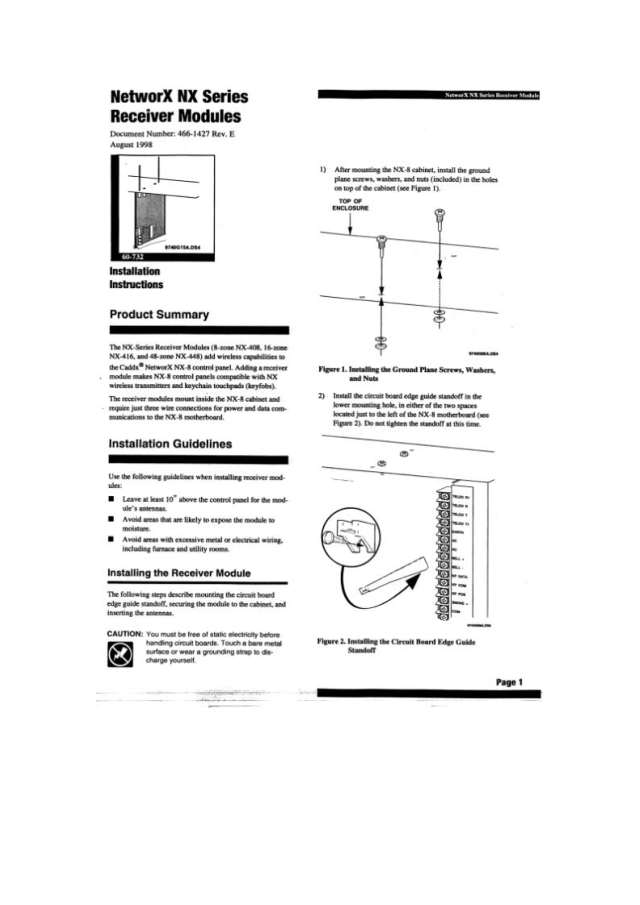
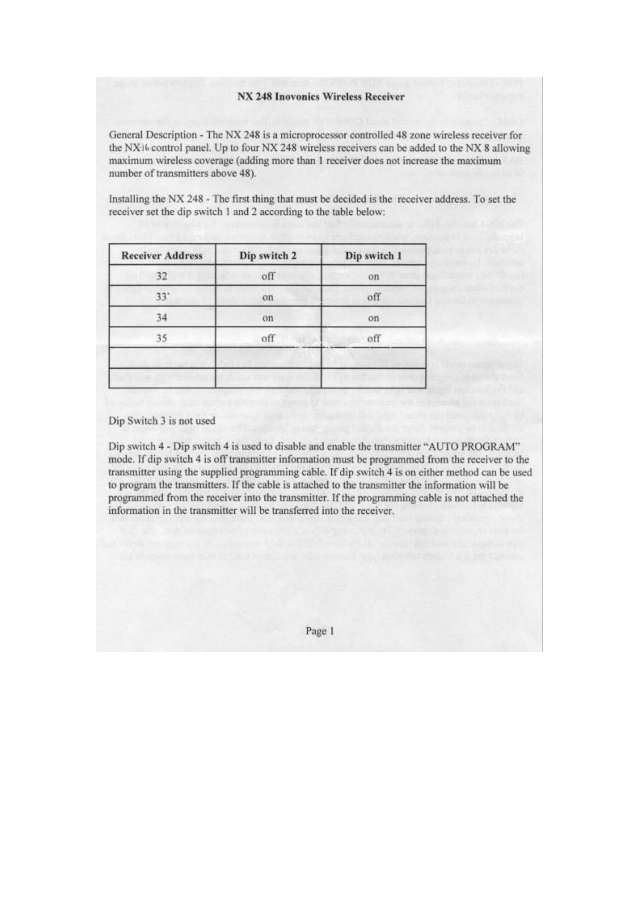
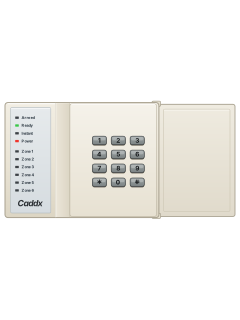
Caddx NX Reliance NX alarms manuals
Start hereNX-148 User ManualUser guide · 33 pages · 94 KBRead it nowKeypad cheat sheet
Arm (away)your codeAway
- Keypads with buttons: close the doors and windows. The READY light must be on.
- Key in your code. The ARMED light comes on (on the NX-1608, the light above ON). Leave before the exit delay ends.
- Beeps speed up in the last 10 seconds; any EXIT light flashes. VerteX: [Exit] restarts the delay if your installer enabled it.
- Quick Arm, if enabled: On on the VerteX, ON on the NX-1608, or Exit on the NX-108E and NX-148E.
- TouchNav touchscreen: touch Away while the screen shows Area Ready.
Arm while homePartialStayyour codeStayHOME
- VerteX code pad: close the doors and windows (the READY light must be on), then press [Partial]. The PARTIAL light comes on.
- Zones your installer set for Partial stay armed; the rest are bypassed. If one opens, the keypad sounds and the entry delay starts: key in your code.
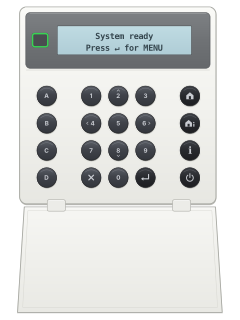
- NX-108E and NX-148E: key in your code, then press [Stay]. The STAY light comes on.
- NX-1608: if your installer enabled quick arming, press [HOME]. The light above HOME comes on.
- TouchNav touchscreen: touch Stay while the screen shows Area Ready.
Disarmyour codeOff +your code
- Keypads with buttons: come in through your entry/exit door. The keypad gives a steady tone during the entry delay.
- Key in your code before the delay ends. The ARMED light (above ON on the NX-1608) goes off and the tone stops.
- If that light is flashing as you come in, the alarm went off while you were away. Leave, then call your alarm company or the police from somewhere safe.
- TouchNav touchscreen: touch Off +, then enter your code on the number pad that appears.
Bypass a zoneBypass2-digit zoneBypassMENUControlsZonesyour codeBypasszoneBypass#*2-digit zone*or*your code2-digit zone*
- VerteX code pad, while disarmed: press [Bypass] (and your code if asked), the zone as 2 digits (04 for zone 4), then [Bypass].
- The zone light comes on. Each detector or door contact is a zone. Bypasses clear when you next disarm.
- NX-108E and NX-148E: [Bypass], your code if asked, the plain zone number (4, or 106), then [Bypass]. Press [#] to finish.
- NX-1608: press [*], the zone as 2 digits, then [*] again. Some systems want your code after the first [*].
- TouchNav: touch MENU, Controls, Zones, then enter your code. Select the zone number, then touch Bypass.
Alarm memory*3MENUHistory
- Keypads with buttons: press [*] then [3].
- LED keypads: zone lights that flash set off the last alarm. Steady ones were bypassed at the time.
- NX-148E LCD keypad: the screen names those zones. Press [#] to finish.
- A flashing ARMED light (above ON on the NX-1608) also means there was an alarm while the system was armed.
- TouchNav touchscreen: touch MENU, then History, to see past events.
Chime on or offChime*HOME
- All but the NX-1608: with the system disarmed, press [Chime] (touch Chime on the TouchNav). Press it again to turn chime off.
- Chime makes the keypad sound when a chosen door opens. Your installer picks the zones and turns it on.
- VerteX, NX-108E and NX-148E: the Chime light stays on while chime is on.
- NX-1608: while disarmed, press [*] then [HOME].
Reset smoke detectors*7MENUTestingSmoke Reset
- Keypads with buttons: disarm first. If the keypad is sounding, key in your code to quieten it.
- Press [*] then [7]. This also clears zone troubles and zone tampers.
- If the keypad starts beeping, the reset did not work. Key in your code, wait a few minutes, try again.
- If it still beeps after a few tries, call your installer.
- TouchNav touchscreen: touch MENU, Testing, then Smoke Reset.
Panic alarmSOSholdthe key with a shield on itorSOSholdthe key with a flame on itorSOSholdthe key with a cross on ithold*+#orhold1+3orhold4+6holdthe key with a shield on itorholdthe key with a flame on itorholdthe key with a cross on it
- These keys work only if your installer has set them up. Use them only in a real emergency.
- Button keypads: hold the key, or both keys together, for 2 seconds.
- TouchNav: touch SOS, then hold the emergency key for the time your installer confirms: our guides differ (2 or 3 seconds).
- If your alarm is monitored, a report can go to the monitoring centre. A police alarm may be set to be silent at the premises.
Page 12 of the NX User Manual - VerteX Code padPage 8 of the NetworX NX-8E User ManualShield key Police (panic) alarm Flame key Fire alarm Cross key Medical (auxiliary) alarm NX-1608: [1] and [3] together Fire alarm NX-1608: [4] and [6] together Medical alarm NX-1608: [*] and [#] together Duress Change a code*5master codeuser numbernew code#MENUControlsUsersmaster code
- Keypads with buttons, while disarmed: press [*] then [5], then key in a master code.
- Key in the user number: 3 digits on an NX-8E panel (003 for user 3); 2 digits otherwise (03). Then key in the new code.
- Repeat for other users. Press [#] at the user-number prompt to finish.
- To delete a code, key in [Chime] (VerteX) or [*] (NX-108E, NX-148E) four times as the new code; six times for 6-digit codes.
- TouchNav: MENU, Controls, Users, master code; select the user, touch Change Code, enter the new code, then Enter.
Trouble lights*2Status
- Keypads with buttons pulse (beep) for a fault. Key in your code to quieten them; it won't arm or disarm.
- LED keypads: when the SERVICE light is on, press [*] then [2]. Zone lights 1 to 8 show what is wrong (see the table).
- For lights 1 to 5, press that number to see which part or zones. [#] goes back; [#] again leaves.
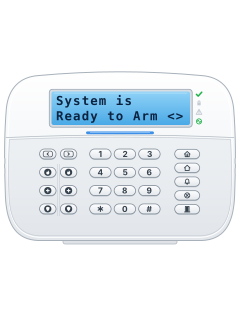
- NX-148E LCD keypad: it shows Service Required. Press [*] [2], scroll the messages, then press [#] twice to leave.
- TouchNav touchscreen: touch Status to see the system status. Call your installation company about these faults.
Pages 5, 14 and 15, 20 of the NX User Manual - VerteX Code padPages 17 and 18 of the NetworX NX-8E User ManualLight 1 System fault. Press [1] to see which, such as siren trouble or box tamper. Light 2 A zone has been tampered with Light 3 A wireless device has a low battery Light 4 A wireless device has stopped checking in Light 5 A zone has a fault Light 6 Phone line trouble or line cut. Some NX-4 and NX-8 manuals list light 6 as not used. Light 7 The panel could not reach the monitoring centre Light 8 The clock was lost after a power loss. To reset it, press [*] [9] [7] (time) or [*] [9] [6] (date), then the master code. Send a test signal*44*44or*4
- Keypads with buttons, while disarmed: press [*] then [4] [4]. No code is needed. It works only if your installer has set the test up.
- It runs whichever battery, communicator and siren tests your installer chose. Only the communicator test sends a test signal; no alarm is sent.
- The sirens may sound during the test: key in your code to stop them.
- The Caddx NX-8, NX-8E and NX-148 guides give [*] then [4] instead.
Why is my keypad beeping or showing a trouble light?
Most keypads beep or light up a trouble indicator when something needs attention, such as a low backup battery, a power cut or a lost phone or internet connection. Your user guide explains what each light or code means on your model. If it keeps happening, or you are not sure, call your installer or monitoring company.
All Caddx NX Reliance NX alarms manuals
User guides 16
Installer manuals 25
Nothing here matches that.
Try a shorter search, or search every brand.
More Caddx NX Reliance models
Is anyone watching your alarm?
An alarm that only makes a noise relies on someone hearing it. A monitored alarm reports to our A1 graded, NZSA approved control room, watched 24/7 by a team that is New Zealand owned and operated. We can monitor most existing alarms, so you may not need a new one. Thinking about a new alarm or security cameras? Ask us for a quote.
Prefer to talk now? Call us on 0800 339 999.
Home: alarm monitoringBusiness: business monitoringInstaller: bureau monitoring

Manuals are the property of their manufacturers and are provided for reference only; their inclusion here does not imply any endorsement by the manufacturer.