
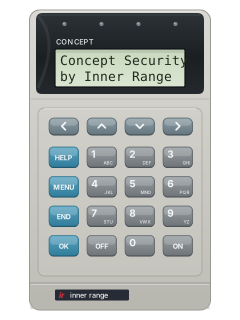
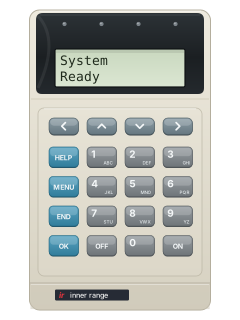
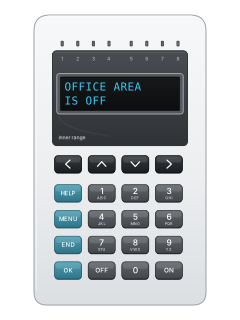
Elite LCD terminal
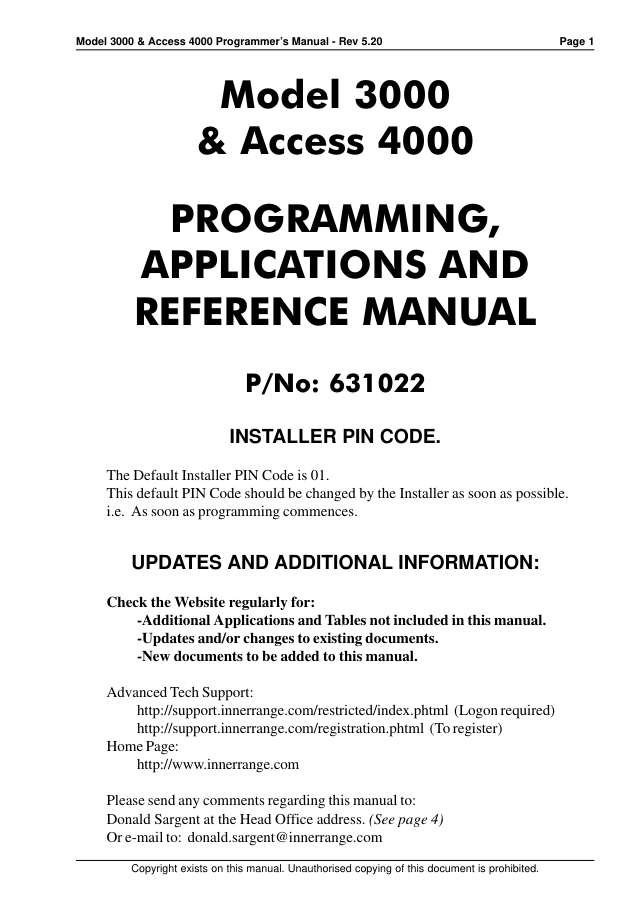
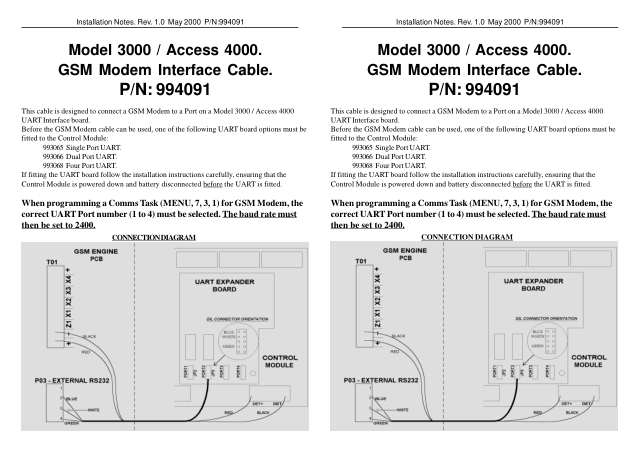
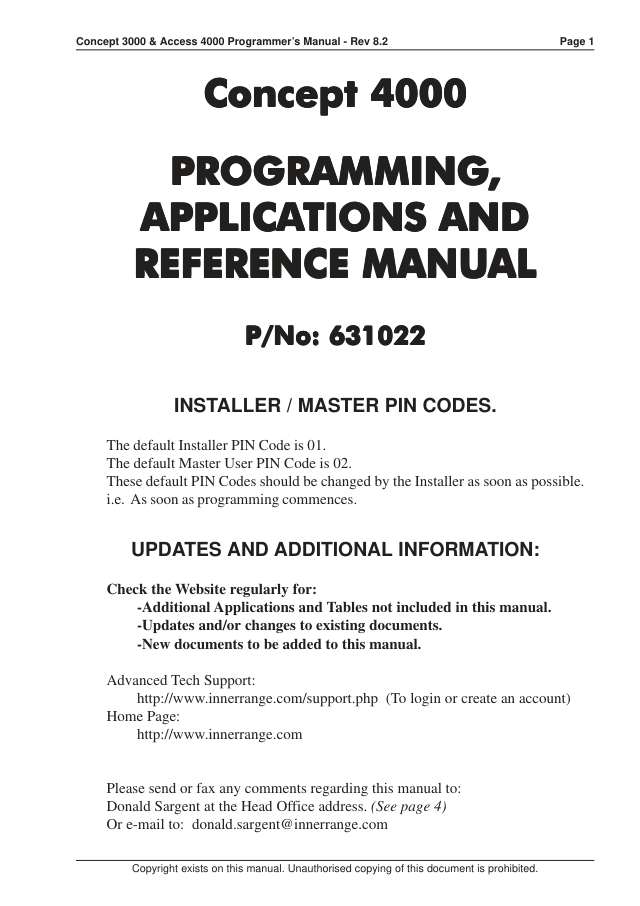
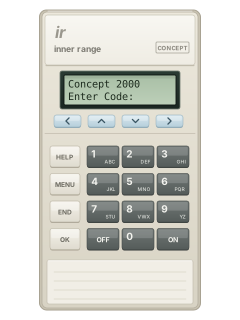
Inner Range Concept 3000 / 4000 manuals
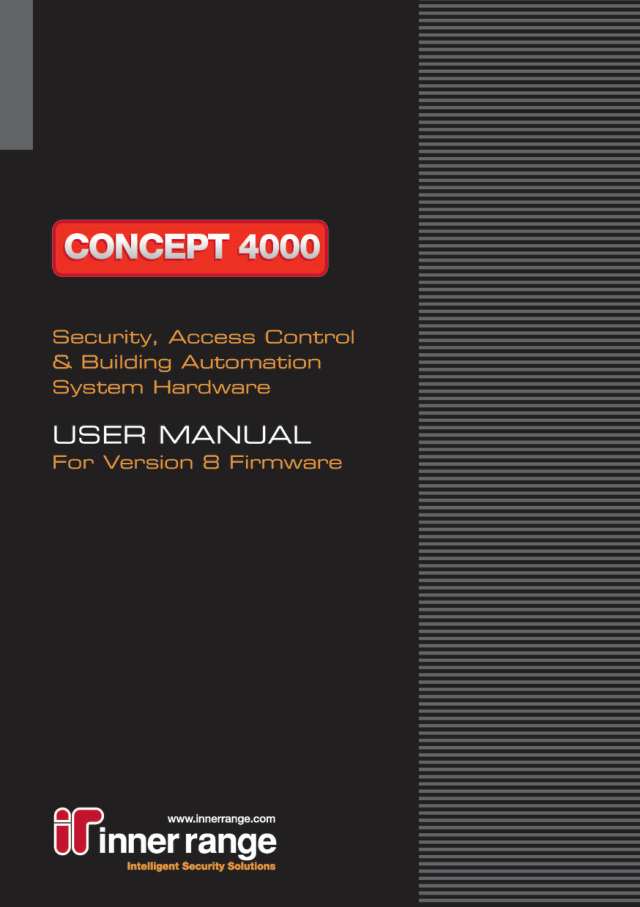
Start hereC4000 user manual V8.0 (full)User guide · 130 pages · 1.6 MBRead it nowKeypad cheat sheet
Arm (away)your codeOKONSECURITYyour codeOKAREA is OFFyour codeOKON/OFF
- Elite LCD or Prisma: enter your PIN, then OK. Choose the area with up/down, then press ON.
- Check the area turns on. Press END to log off and leave before exit time ends.
- Touchscreen: tap SECURITY, enter PIN, then OK. Tap the required AREA is OFF button; check it changes to AREA is ON.
- Weatherproof, if arming is enabled: enter PIN, then OK. With CODE lit and ARMED off, press ON/OFF.
- Weatherproof: check ARMED lights, then press 0 to log off. On any terminal, leave before the exit time ends.
Disarmyour codeOKOFFSECURITYyour codeOKAREA is ONyour codeOKON/OFF
- Elite LCD or Prisma: enter PIN, then OK. Deal with any alarm prompts, choose the armed area and press OFF.
- Disarm before entry time ends. Check the area is off, then press END to log off.
- Touchscreen: tap SECURITY, enter PIN, then OK. Tap the required AREA is ON button; check it changes to AREA is OFF.
- Weatherproof, if disarming is enabled: enter PIN, then OK. With CODE and ARMED lit, press ON/OFF.
- Weatherproof: check ARMED goes out, then press 0 to log off.
Bypass a zoneyour codeOKMENU3SECURITYyour codeOKToolsIsolate
- Elite LCD, with isolation rights: enter PIN, OK, MENU, 3. The panel calls bypassing isolating.
- At Zone to Isolate, press ON, scroll to the zone and press OK. With HomeZone selection, scroll to its name and press OK.
- Press OFF to isolate; it restores at the next disarm. ON restores it now. Press OK for another zone or END to log off.
- Touchscreen: SECURITY, PIN, OK, Tools, then Isolate, if enabled. Use isolation only as directed by your installer.
- Prisma and weatherproof terminals: see their own guides.
Alarm memoryyour codeOKthenOKoryour codeOKMENU11SECURITYyour codeOKClearorSECURITYyour codeOKToolsReview
- Elite LCD: after an alarm, enter PIN, OK. Read each alarm message and press OK to acknowledge it.
- For history, enter PIN, OK, MENU, 1, 1. Scroll with up/down; END logs off. MENU, 1 while logged off works only if enabled.
- Touchscreen: SECURITY, PIN, OK. Read each alarm and tap Clear to acknowledge it; OK alone does not clear it.
- Touchscreen history, if enabled: SECURITY, PIN, OK, Tools, Review. Back/Forward steps through events; EXIT leaves Review.
- Prisma and weatherproof terminals: see their own guides.
Panic alarmHELPHELPHELP
- Elite LCD only, if your installer enabled panic for that terminal. For Prisma, touchscreen or weatherproof, see its own guide.
- Press HELP, then HELP again within 60 seconds. The display asks whether you want a panic alarm.
- Press HELP the third time within 10 seconds to send it, or END to cancel.
- Depending on the set-up, sirens sound or a silent alarm goes to your monitoring centre.
Change a codeyour codeOKMENU21
- Elite LCD, with user-editing rights: enter PIN, OK, MENU, 2, 1. Other pictured terminals: see their own guides.
- Enter the user number, or press ON and find the name, then OK.
- Press OK past the name and user type screens to reach PIN.
- Press OFF to clear the old PIN, enter the new PIN and press OK to save.
- Press END to log off. PINs allow up to 8 digits; some systems require exactly 6.
Set the date and timeyour codeOKMENU51
- Elite LCD, with access to Times: enter PIN, OK, MENU, 5, 1. Other pictured terminals: see their own guides.
- Key in the date and time as DD/MM/YY-HH:MM, 24-hour clock. The right arrow moves along.
- Press OK to save. The seconds go back to 00.
- Pick the weekday with the right arrow, press OK, then END to finish.
Test the systemyour codeOKMENU4
- Elite LCD, if testing is enabled: enter PIN, OK, MENU, 4; choose the area and OK. Other pictured terminals: see their own guides.
- The terminal checks every zone is sealed, then beeps as it shows zones not yet tested.
- Walk past each detector and open and close each door until Test Passed shows. Press OK.
- If a zone will not test, press OK for Test Failed, then OK to return. END aborts the test; from Area to Test, END logs off.
Trouble lightsyour codeOKMENU15
- Elite LCD and touchscreen: these messages stay on the display until fixed. For Prisma or weatherproof, see its own guide.
- Your installer usually has to fix the first four messages in the table.
- Elite LCD: to list zones that are isolated, tampered or open, log on, then press MENU, 1, 5.
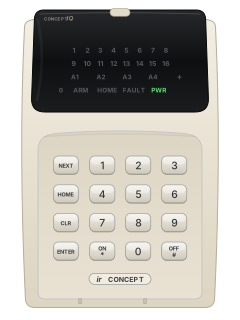
- Elite LCD: where its four lamps show areas, a flashing lamp means an alarm in that area.
- Elite LCD beeping every 2 seconds with about to turn On: a timed-off area re-arms in about 4 minutes. Turn it off again to restart the timer (version 3 or later).
Pages 11, 16, 19, 44 of the C4000 user manual V8.0 (full)Page 12 of the Concept 3000 UserHad Power Problem Mains power is off to one or more modules; check it is switched on Had Battery Problem A module's battery is low Had Network Problem A module has stopped talking to the panel, maybe cable damage Had Comms Problem Reports to your monitoring centre may not be getting through Some Inputs latched/isolated/tampered/unsealed Check them with MENU, 1, 5 Area about to turn On A timed-off area is about to re-arm; turn it off again to restart the timer Send a test signalyour codeOKMENU82
- Elite LCD: log on (PIN, OK), then press MENU, 8, 2. It sends a test report to your monitoring centre. Other terminals: see their own guides.
- Report Initiated shows for about 2 seconds (version 4 or later). END leaves the menu; the call still goes ahead.
- It needs version 3.0 or later and a phone line, and your installer must have turned it on for your code.
- Use it after work on the system or phone line, or to clear a fixed Comms Fail. Check your monitoring centre offers it, and any charges.
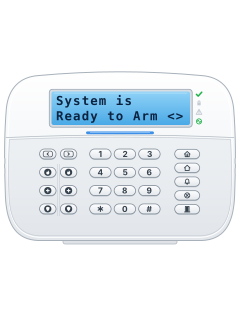
Why is my keypad beeping or showing a trouble light?
Most keypads beep or light up a trouble indicator when something needs attention, such as a low backup battery, a power cut or a lost phone or internet connection. Your user guide explains what each light or code means on your model. If it keeps happening, or you are not sure, call your installer or monitoring company.
All Inner Range Concept 3000 / 4000 manuals
User guides 5
Installer manuals 133
Nothing here matches that.
Try a shorter search, or search every brand.
More Inner Range models
Is anyone watching your alarm?
An alarm that only makes a noise relies on someone hearing it. A monitored alarm reports to our A1 graded, NZSA approved control room, watched 24/7 by a team that is New Zealand owned and operated. We can monitor most existing alarms, so you may not need a new one. Thinking about a new alarm or security cameras? Ask us for a quote.
Prefer to talk now? Call us on 0800 339 999.
Home: alarm monitoringBusiness: business monitoringInstaller: bureau monitoring

Manuals are the property of their manufacturers and are provided for reference only; their inclusion here does not imply any endorsement by the manufacturer.