

Genesis manuals
Keypad cheat sheet
Arm (away)your codeENTERON
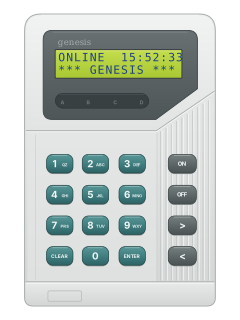
- Key in your PIN and press [ENTER]. The first area you can use shows on the screen.
- Genesis splits a site into areas. Pick the one you want with [<] or [>].
- Press [ON]. A short beep and the second line changing to secure mean it's armed.
- User number above 101? Start with [ENTER], your user number and [ENTER], then your PIN and [ENTER].
Disarmyour codeENTEROFF
- User number above 101? Press [ENTER], your user number and [ENTER] before entering your PIN.
- Key in your PIN and press [ENTER].
- Pick the area with [<] or [>], then press [OFF].
- A short beep and the second line changing to access mean it's disarmed.
- If your installer has set up duress, your PIN plus one also sends a duress signal to your monitoring centre. Ask your installer about it.
Open a dooryour codeENTERENTER
- User number above 101? Press [ENTER], your user number and [ENTER] before entering your PIN.
- If your keypad also controls a door, key in your PIN, then press [ENTER] twice.
- If your PIN is allowed through that door, it unlocks for a short time.
Bypass a zoneyour codeENTERCLEAR>>ENTERENTERthenON
- User number above 101? Press [ENTER], your user number and [ENTER] before entering your PIN.
- Key in your PIN, press [ENTER], then [CLEAR]. The menu opens at DISPLAY.
- Press [>] until CONTROL shows, then [ENTER]. Isolate Input comes first: press [ENTER].
- Scroll to the input with [<] or [>]. [ON] isolates it so it cannot alarm; [OFF] restores it. [CLEAR] leaves.
- Isolate only a faulty input, or one being worked on, and tell your technician.
Alarm memoryyour codeENTERCLEARENTER>ENTER
- User number above 101? Press [ENTER], your user number and [ENTER] before entering your PIN.
- Key in your PIN, press [ENTER], then [CLEAR]. DISPLAY shows: press [ENTER].
- Press [>] to Event Summary (or on to Event History for the full log), then [ENTER].
- Scroll with [<] and [>]. Each event has its time and date. [9] jumps to the newest, [7] to the oldest.
- Press [CLEAR] to leave.
Change a codeyour codeENTERCLEAR>>>>ENTERnew codeENTERENTER
- User number above 101? Press [ENTER], your user number and [ENTER] before entering your PIN.
- Key in your PIN, press [ENTER], then [CLEAR] to open the menu.
- Press [>] until PINS shows, then [ENTER]. The screen asks you to Enter PIN.
- Key in your new PIN and press [ENTER]. When Database Update shows, press [ENTER] again.
- PINS changes only your own PIN. If your PIN is allowed, USERS then Change PIN does it for someone else by user number.
Set the date and timeyour codeENTERCLEAR<ENTER>ENTERtimeENTERdateENTERON
- User number above 101? Press [ENTER], your user number and [ENTER] before entering your PIN.
- Key in your PIN, press [ENTER], then [CLEAR]. Press [<] or [>] until SETTING shows, then [ENTER].
- Press [>] to Set Time/Date, then [ENTER].
- Enter HHMM on the 24-hour clock, then [ENTER]. Enter the date as DDMMYY, then [ENTER].
- Set MU Clock shows: press [ON] to save it.
Check the inputsyour codeENTERCLEAR>ENTERENTER
- User number above 101? Press [ENTER], your user number and [ENTER] before entering your PIN.
- Key in your PIN, press [ENTER], then [CLEAR]. Press [>] to INPUTS, then [ENTER].
- Unsealed comes first. Press [>] for another list (see the table), then [ENTER] to open it.
- Scroll the inputs in the list with [<] and [>]. Press [CLEAR] to leave.
Pages 7, 13 and 14, 28 of the Genesis User Manual Version 2.03Unsealed Inputs active right now, such as a door left open Alarmed Inputs that have set off an alarm Tampered A case opened or wiring changed: check it promptly, and have a technician look Isolated Inputs left out, so they can't cause an alarm Bypassed Inputs whose tamper isn't watched: only while a technician services them Trouble lights
- Lights A to D, the buzzer's beeps and any screen messages do what your technician set up. Ask them what yours mean.
- [ENTER] acknowledges a message on the screen. To see what has happened, look through the event log (see Alarm memory).
- INPUTS, then Tampered, lists anything tampered with (see Check the inputs). Have a technician check it promptly.
- If your installation company turned it on, CONTROL, then Service Request and [ON], asks your control room to send a technician.
Pages 6, 11 and 12, 14 to 16, 28 of the Genesis User Manual Version 2.03Pages 6 and 7 of the GEN-030 Technical ManualLights A to D Set by your technician, for example to show area or input status, steady or flashing Tampered A case opened or wiring changed: the system may not fully protect you Service Request Asks your control room to send a technician
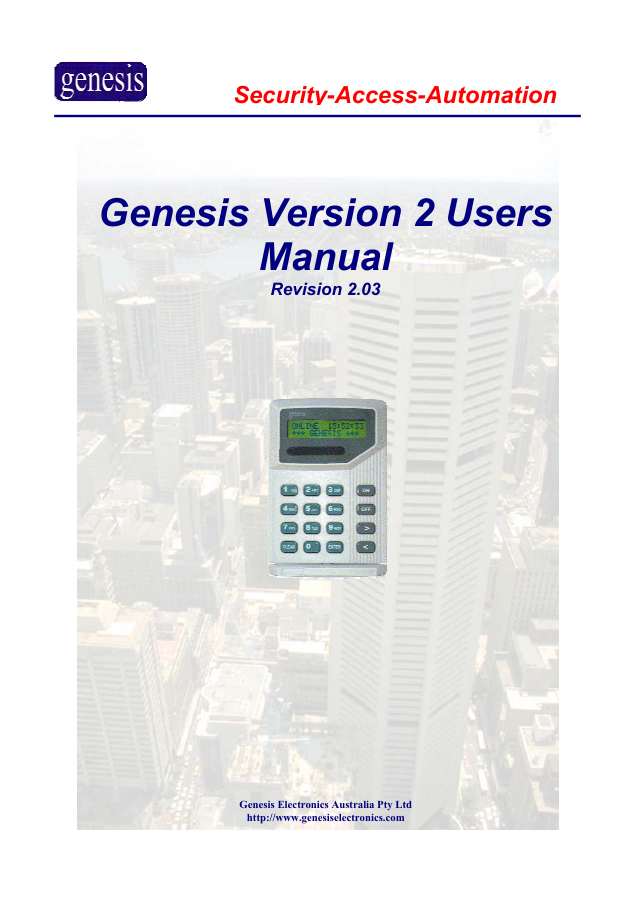
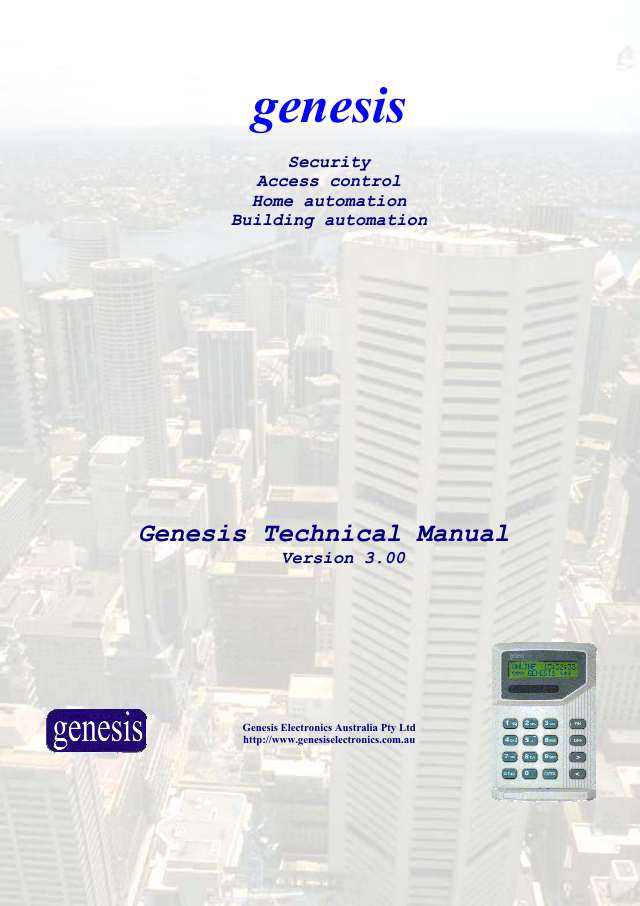
Every Genesis manual
User guides 1
Installer manuals 14
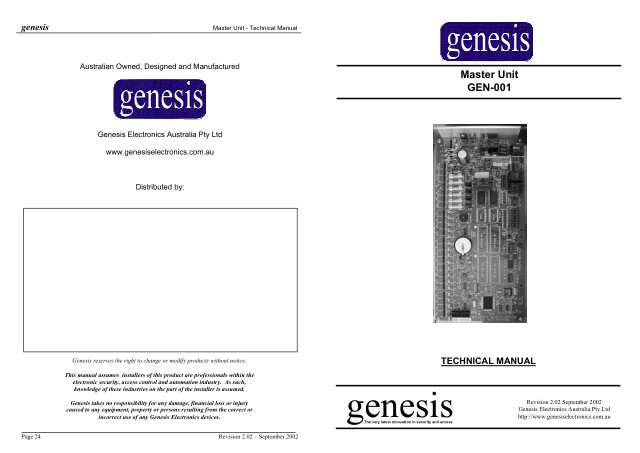
Genesis Quick Programming Guide1 page · 132 KBgetting started14 pages · 1.6 MBGenesis Installation Manual124 pages · 2.9 MBGEN-001 Technical Manual12 pages · 1.5 MBGEN-010 Technical Manual8 pages · 709 KBGEN-020 Technical Manual6 pages · 1020 KBGEN-030 Technical Manual8 pages · 654 KBGEN-045 Technical Manual8 pages · 798 KBGEN-050 Technical Manual6 pages · 766 KBGEN-060 Technical Manual4 pages · 998 KBGenesis Wiring Schedule2 pages · 138 KBGenesis EOL Resistor Values5 pages · 413 KBGenesis Keypad2 pages · 258 KBGenesis Master Panel2 pages · 143 KB

Nothing here matches that.
Try a shorter search, or search every brand.










Is anyone watching your alarm?
An alarm that only makes a noise relies on someone hearing it. A monitored alarm reports to our A1 graded, NZSA approved control room, watched 24/7 by a team that is New Zealand owned and operated. We can monitor most existing alarms, so you may not need a new one. Thinking about a new alarm or security cameras? Ask us for a quote.
Prefer to talk now? Call us on 0800 339 999.
Home: alarm monitoringBusiness: business monitoringInstaller: bureau monitoring

Manuals are the property of their manufacturers and are provided for reference only; their inclusion here does not imply any endorsement by the manufacturer.