
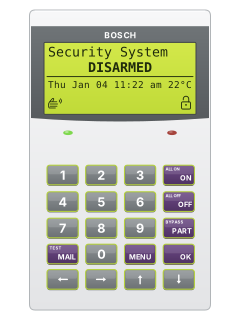
Graphic codepad

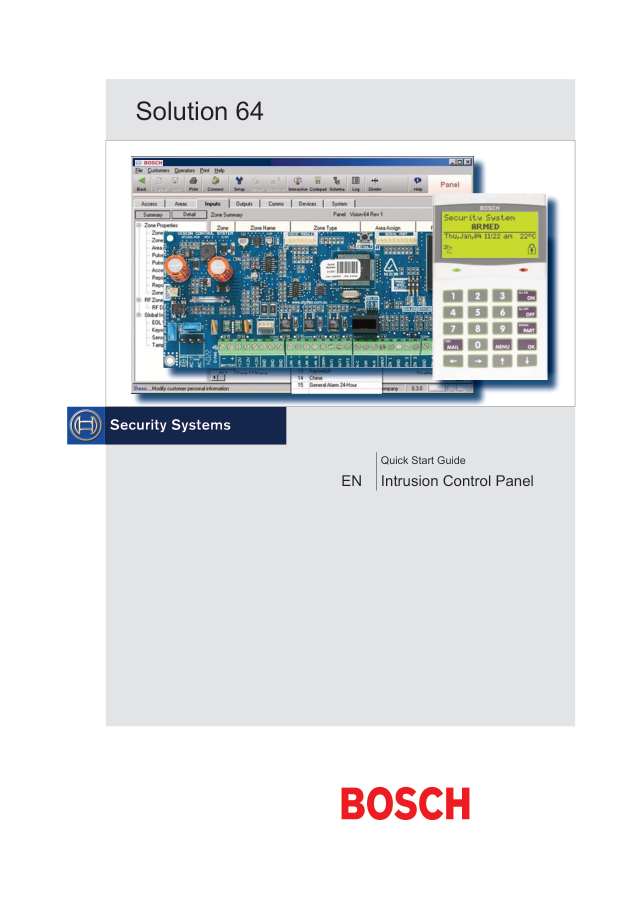
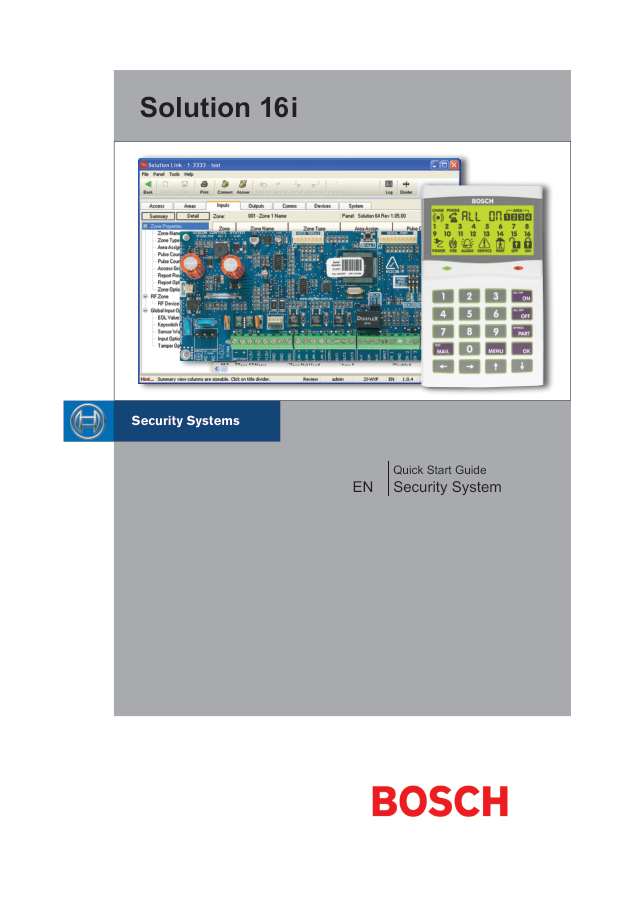
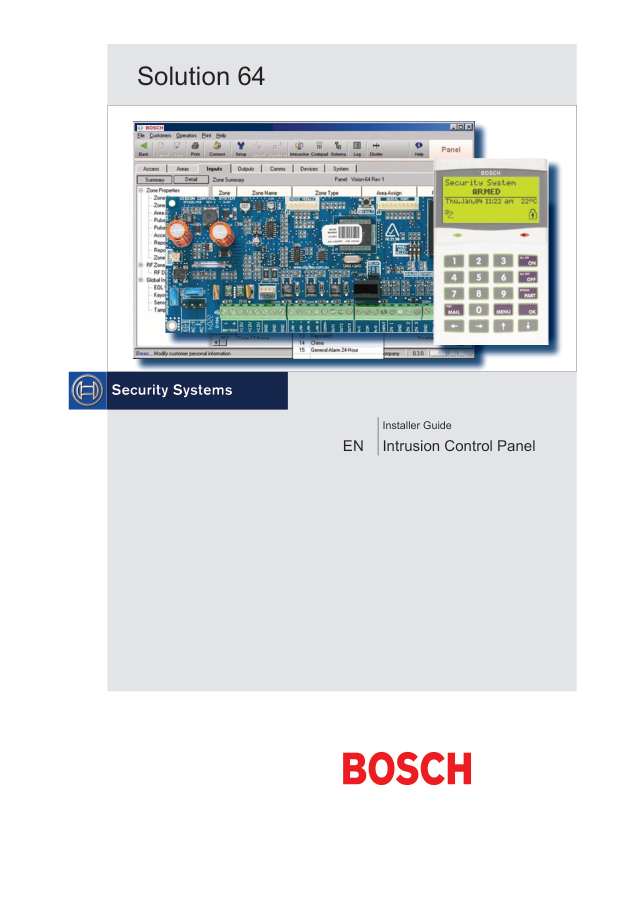
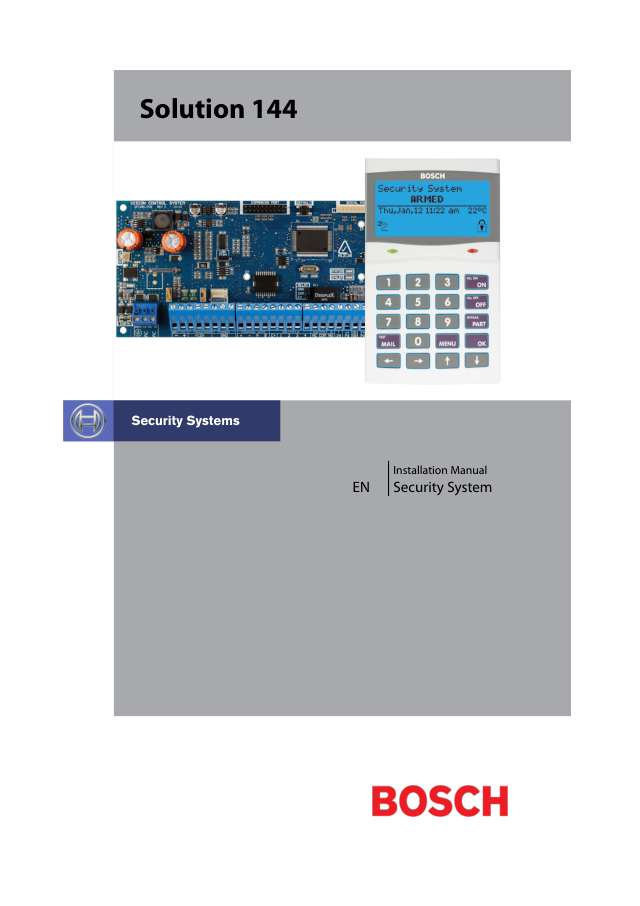
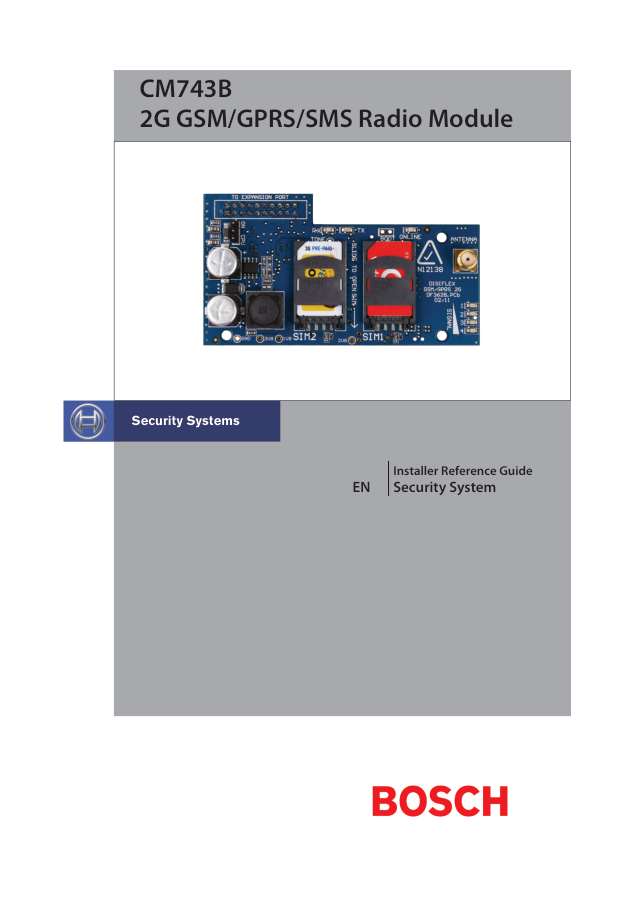
Bosch EDM Solution 16+ / 64 / 144 manuals
Start hereSolution 16i User GuideUser guide · 36 pages · 1.8 MBRead it nowSolution 16+ / 64 graphic keypad cheat sheet
Arm (away)your codeON
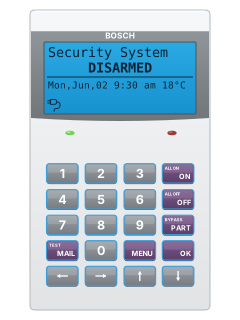
- Graphic keypad only (the one with ON, OFF, PART and MENU keys). For any other keypad, see its own guide.
- Close doors and windows: the hand icon shows when the area is ready. Key in your PIN, then press ON, and leave.
- The keypad beeps once a second through the exit time, then quickly for the last 10 seconds.
- To stop it arming during exit time, key in your PIN, then OFF.
- If a zone is open, close it or bypass it, then try again.
Arm while homeyour codePARTthenOK
- Graphic keypad only (the one with ON, OFF, PART and MENU keys). For any other keypad, see its own guide.
- Key in your PIN, then press PART. The panel calls this Part On.
- Use the arrow keys to pick Part On or Part 2 On, then press OK. Exit time starts.
- Your installer chooses the Part On zones; a master user chooses the Part 2 On zones.
- When exit time ends, the Part On icon (a house) shows.
Disarmyour codeOFF
- Graphic keypad only (the one with ON, OFF, PART and MENU keys). For any other keypad, see its own guide.
- Come in by your entry door; the keypad sounds a high-low tone. Key in your PIN, then press OFF before entry time runs out.
- The Lock or Part icon goes off the display.
- If an alarm has gone off, PIN then OFF also silences it. Tell your monitoring company if it was false.
- Solution 16+: under threat, key in your PIN, its last two digits, then OFF, for a silent duress alarm.
Bypass a zoneMENU302
- Graphic keypad only (the one with ON, OFF, PART and MENU keys). For any other keypad, see its own guide.
- Press MENU, then 3 0 2 (key in your PIN if asked). Pick the zone with the up and down arrows, or its number, then press OK.
- Press ON to bypass it, or OFF to un-bypass it, then OK to save. A tick marks a zone already bypassed.
- Bypassed burglary zones come back when you next disarm. 24-hour zones stay bypassed until you undo them.
- Holding PART for 2 seconds can also be used to bypass zones.
Alarm memoryMENU702
- Graphic keypad only (the one with ON, OFF, PART and MENU keys). For any other keypad, see its own guide.
- After an alarm, key in your PIN then OFF. The display keeps scrolling what caused it.
- To clear that memory, arm and disarm again: PIN then ON, then PIN then OFF.
- For the history log, press MENU, then 7 0 2 (key in your PIN if asked). The newest event shows first.
- Scroll with the up and down arrows. Press OK or MENU to leave.
Chime on or offMENU205
- Graphic keypad only (the one with ON, OFF, PART and MENU keys). For any other keypad, see its own guide.
- If your installer has enabled keypad chime, it beeps when a chime zone opens while the area is off.
- Press MENU, then 2 0 5 (key in your PIN if asked). Pick the area and press OK.
- The display says whether chime is ON or OFF. Press ON or OFF to change it, then OK to leave.
- A master user picks the chime zones in MENU 3 0 3.
Reset smoke detectorsMENU305
- Graphic keypad only (the one with ON, OFF, PART and MENU keys). For any other keypad, see its own guide.
- Press MENU, then 3 0 5 (key in your PIN if asked). Pick the area with the arrows, or its number, then press OK.
- The display says the smoke detector reset is in progress. It goes back to the menu when done.
- A steady fire icon means a fire alarm is in memory: turn the area On and Off to clear it.
Panic alarmhold1+3
- Graphic keypad only (the one with ON, OFF, PART and MENU keys). For any other keypad, see its own guide.
- Hold 1 and 3 together for 2 seconds for a panic alarm.
- Hold 4 and 6 together for fire, or 7 and 9 for medical, also for 2 seconds.
- If your installer has set it up, the sirens sound and your monitoring centre is alerted.
Change a codeyour codeMENU110
- Graphic keypad only (the one with ON, OFF, PART and MENU keys). For any other keypad, see its own guide.
- With the system off, key in your PIN, then MENU, then 1 1 0.
- Key in your new PIN and press OK (an error tone means choose another), then key it in again and press OK.
- It needs the same number of digits as the old one, unless your installer allows other lengths. PINs are 4 digits from the factory.
- A master user can change other people's PINs with MENU 1 1 1.
Trouble lightsthe key with a down arrow on it
- Graphic keypad only (the one with ON, OFF, PART and MENU keys). For any other keypad, see its own guide.
- A fault makes the keypad give 4 fast beeps, then a 5-second pause, over and over.
- The service icon (a warning triangle) flashes until the trouble is acknowledged, then stays on.
- On a Solution 64, press OK to acknowledge the trouble and stop the beeps.
- With the area off, press the down-arrow key to see the trouble. Or press MENU, then 7 0 1 (PIN if asked) for the list.
Pages 4, 6 and 7, 23 to 25 of the Sol 16+ 64 UserPage 25 of the BOSCH Solution 16Plus User ManualMains Missing Mains power is off; call your security company if there is no local power cut Battery Low The backup battery failed its test and may need replacing Date And Time The clock needs setting: MENU, 7 1 0, set it with the arrows, then OK Comms Trouble R1 Reports to your monitoring centre are failing Telco Line Trouble The phone line has been off for 30 seconds or more Siren Trouble The outside siren has failed or been disconnected Default PIN Trbl A factory PIN is still in use; change it Time For Service A service visit is due Send a test signalholdMAILorMENU590
- Graphic keypad only (the one with ON, OFF, PART and MENU keys). For any other keypad, see its own guide.
- Hold MAIL for 2 seconds, or press MENU, then 5 9 0 (key in your PIN if asked).
- Either starts a communication test: the panel sends a test report to your monitoring company.
- MENU 5 9 0 shows Comms testing in progress, then Communications Test Successful, or Test Report Failed: call for service.
- Press OK or MENU to leave.
Why is my keypad beeping or showing a trouble light?
Most keypads beep or light up a trouble indicator when something needs attention, such as a low backup battery, a power cut or a lost phone or internet connection. Your user guide explains what each light or code means on your model. If it keeps happening, or you are not sure, call your installer or monitoring company.
All Bosch EDM Solution 16+ / 64 / 144 manuals
User guides 4
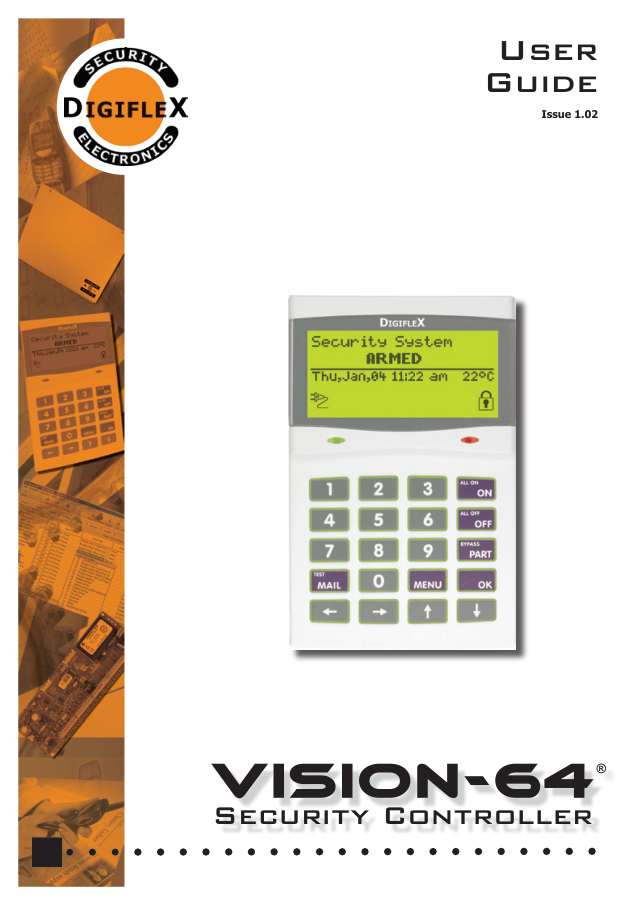
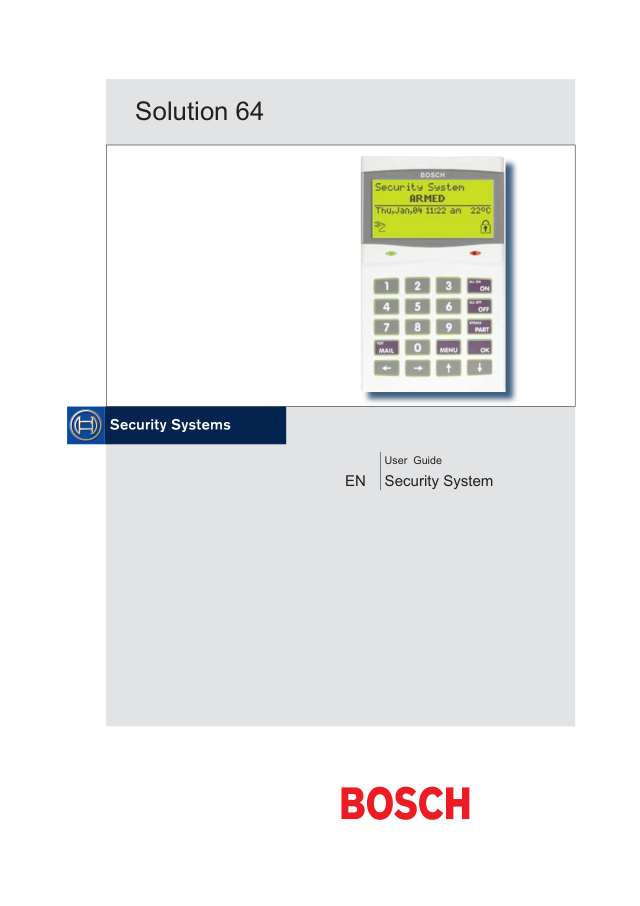
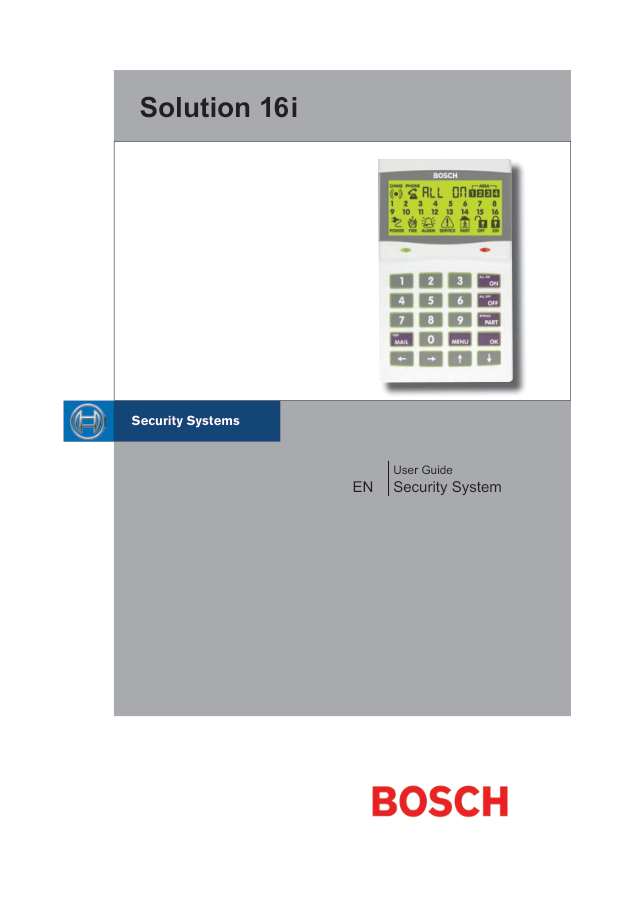
Installer manuals 14
Nothing here matches that.
Try a shorter search, or search every brand.
More Bosch EDM models
Is anyone watching your alarm?
An alarm that only makes a noise relies on someone hearing it. A monitored alarm reports to our A1 graded, NZSA approved control room, watched 24/7 by a team that is New Zealand owned and operated. We can monitor most existing alarms, so you may not need a new one. Thinking about a new alarm or security cameras? Ask us for a quote.
Prefer to talk now? Call us on 0800 339 999.
Home: alarm monitoringBusiness: business monitoringInstaller: bureau monitoring

Manuals are the property of their manufacturers and are provided for reference only; their inclusion here does not imply any endorsement by the manufacturer.