
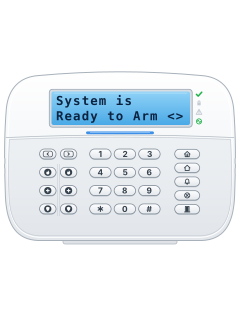
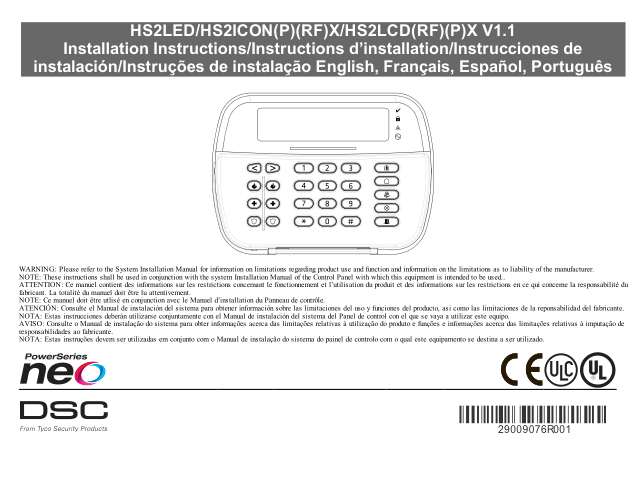
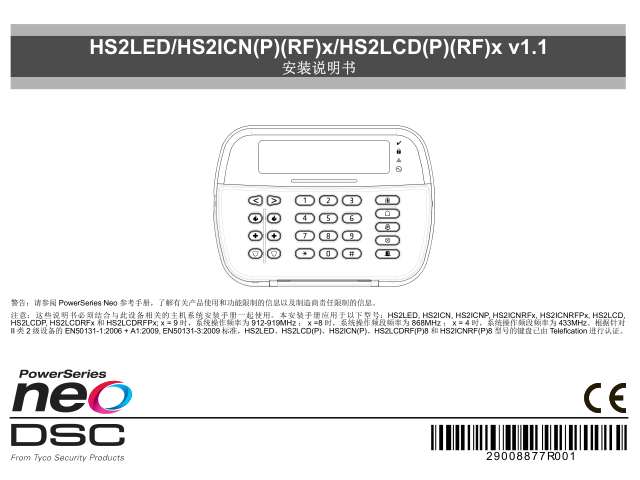
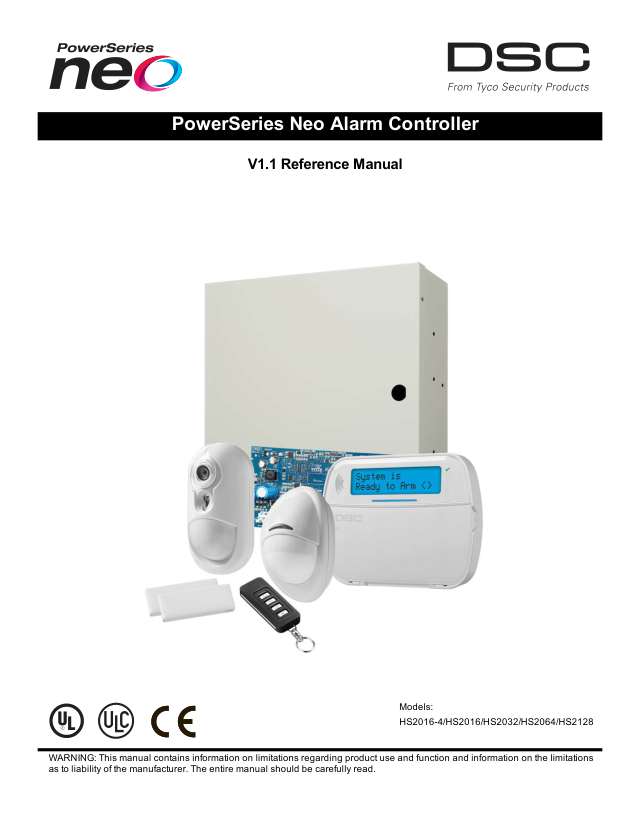
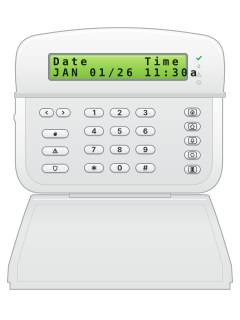
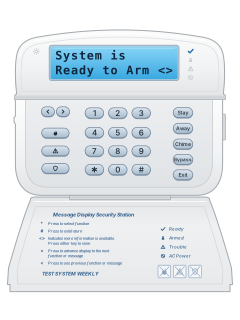
HS2LCDLCD keypad

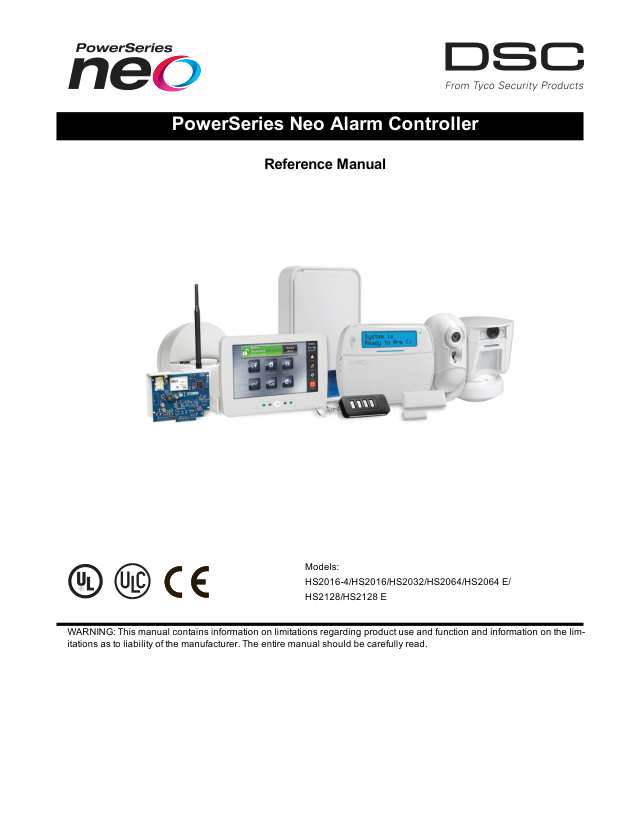
DSC PowerSeries Neo manuals
Start hereNeo V1.3 User manualUser guide · 47 pages · 950 KBRead it nowKeypad cheat sheet
Arm (away)your codeyour codeorholdthe key with a house on itAway Arm
- Close doors and windows. The Ready tick must be on.
- HS2TCHP: tap [Away Arm], then enter your code if the number pad appears.
- HS2LCD: enter your code, or hold the key with a house on it for 2 seconds and enter your code if asked.
- Armed comes on and the exit countdown starts. Leave through your usual entry/exit door before it ends.
- At the end, Ready goes out and the keypad goes quiet. HS2LCD shows System Armed in Away Mode.
Arm while home*9your codeholdthe key with a house with a person in it on itStay Arm
- Stay arms doors and windows and bypasses inside detectors, if your installer has set it up. Ready must be on.
- HS2TCHP: tap [Stay Arm], then enter your code if asked. Stay inside.
- HS2LCD: hold the key with a house with a person in it on it for 2 seconds, then enter your code if asked. Stay inside.
- When the exit time ends, Ready goes out and Armed stays on.
- HS2LCD: once Stay-armed, [*][1] arms inside zones except Night zones. Disarm before entering those protected areas.
Disarmyour codeDisarmyour code
- For button keypads such as the HS2LCD. On the HS2TCHP touchscreen, tap Disarm and key your code into the number pad.
- HS2LCD: enter your code, or show your prox tag if your keypad supports it, while Armed is on.
- Coming in, the keypad beeps. Disarm before the entry time runs out.
- Wrong code? A 2-second error tone sounds. Press [#] on the button keypad or touchscreen number pad and retry.
- Alarm by mistake? Key in your code straight away, then ring your monitoring company.
Bypass a zone*1zone#Zone Status
- HS2TCHP: disarm, tap [Zone Status], find the zone and tap its bypass icon. Tap its unbypass icon to restore it.
- Disarm first. On a button keypad, press [*][1], then your code if asked. Bypassing leaves that zone unprotected.
- HS2LCD: enter the zone as 3 digits, such as 005 for zone 5. A B means bypassed.
- HS2LCD: enter it again to undo; [9][9][8] bypasses open zones and [0][0][0] clears all bypasses.
- HS2LCD: [#] finishes. On either keypad, disarming clears ordinary bypasses; remove 24-hour bypasses manually. Some zones cannot be bypassed.
Alarm memory*3Alarms
- HS2TCHP: tap [Alarms] when shown, then scroll the alarm list. Back or Home leaves it.
- After an alarm, icon and LED keypads light the Memory symbol and show the zone numbers.
- HS2LCD: press [*][3], then your code if asked. Scroll with the arrow keys.
- 'Burglary Verified' means more than one detector went off; 'Burglary Not Verified' means only one did.
- To clear the memory, arm and then disarm the system. If it went off while you were out, go in carefully.
Chime on or off*4*4orholdthe key with a bell on itOptionsChime DisabledorOptionsChime Enabled
- HS2TCHP: while disarmed, tap [Options], then [Chime Disabled] to enable chime or [Chime Enabled] to disable it.
- HS2LCD: press [*][4] and your code if asked, or hold the key with a bell on it for 2 seconds if enabled.
- Three beeps means door chime is on; one long beep means it's off. An LCD shows 'Door Chime Feature ON' or 'OFF'.
- With chime on, the keypad sounds when a chime zone opens or closes. Your installer picks the zones.
Reset smoke detectors*72*72orholdthe key with a circle with a cross on itOutputs
- HS2TCHP: tap [Outputs], then your installer-labelled reset button, or Command Output 2 if it has no label.
- Fire alarm by mistake, such as burnt toast? Key in your code to silence it, then ring your monitoring company.
- HS2LCD: press [*][7][2], or hold the key with a circle with a cross on it for 2 seconds if your installer assigned it to reset.
- If the reset works, the alarm is cancelled. If a detector still senses smoke, it sounds again.
Change a code*5master codeuser number1new code#OptionsAccess Codesmaster code
- HS2TCHP: [Options], [Access Codes], master code; choose the user, Select, Set Access Code, then enter the new code.
- On a button keypad, press [*][5], then the master or supervisor code. Choose the user number, or scroll and press [*].
- Press [1] or [*], then enter the new code: 4, 6 or 8 digits, as set up. The master code is user 01.
- To delete a user code, press [*] instead of a new code. A duplicate gets an error tone. The master code cannot be deleted.
- HS2LCD: press [#] until Ready returns. HS2TCHP: follow the screen prompts to finish.
Set the date and time*6master code01timedate#OptionsUser Functionsmaster codeTime & Date
- HS2TCHP: [Options], [User Functions], master code, [Time & Date]; select each field, use up/down arrows, then Save.
- On a button keypad, press [*][6], the master code, then [0][1].
- HS2LCD: enter the 24-hour time as 4 digits: 1430 for 2:30 pm.
- HS2LCD: enter the date as MMDDYY, then [#] to leave.
- Setting the time clears a 'Loss of clock' trouble.
Trouble lights*2Troubles
- A trouble turns on the triangle light and the keypad beeps every 10 seconds. On a wireless keypad, a flashing triangle outside [*][2] means its batteries are low.
- HS2LCD: [#] stops the beeps. Press [*][2] to see the troubles; scroll to one and press [*] for details.
- HS2TCHP: tap Troubles (triangle) to stop the beeps and see the list. If either keypad asks for your code, the beeps stop only once you leave the list.
- HS2LCD: if a trouble stops you arming, choose Acknowledge All Troubles in [*][2] and press [*].
- Lost clock (under 01 on the HS2LCD, Loss of Clock on the HS2TCHP)? Set the time and date again. Call for service for the rest.
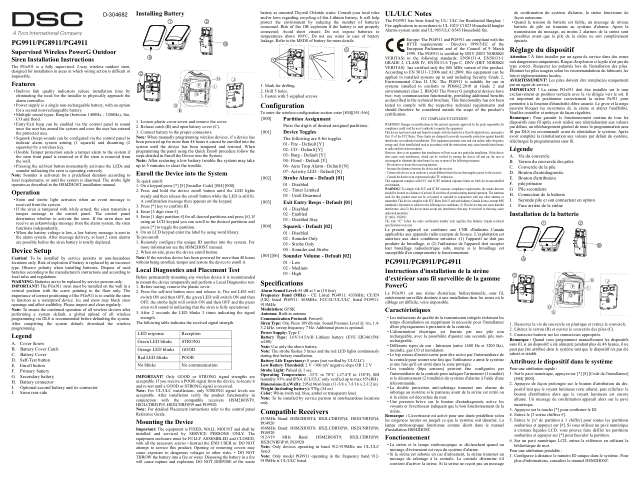
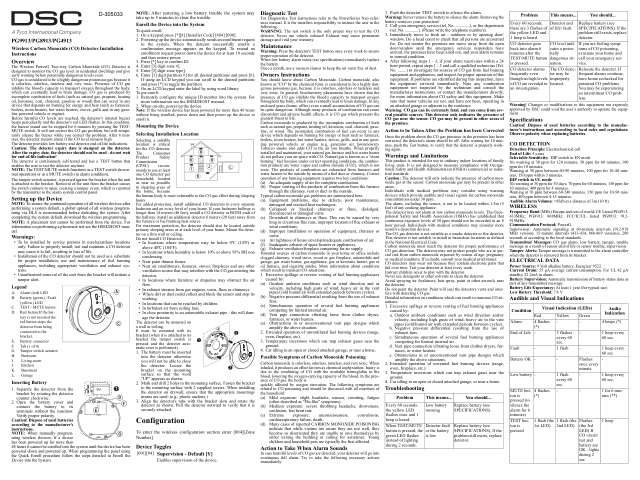
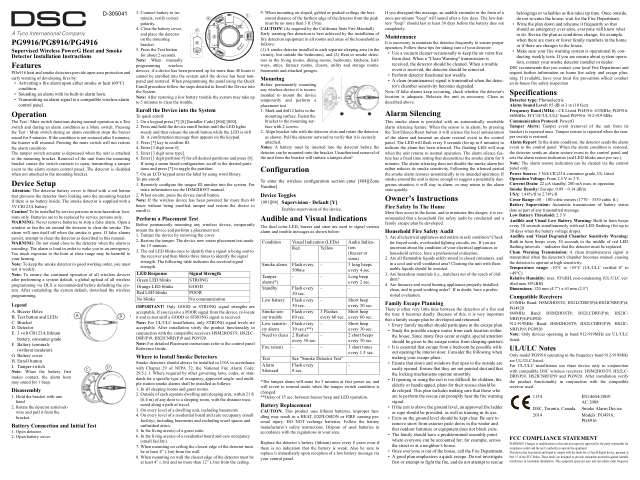
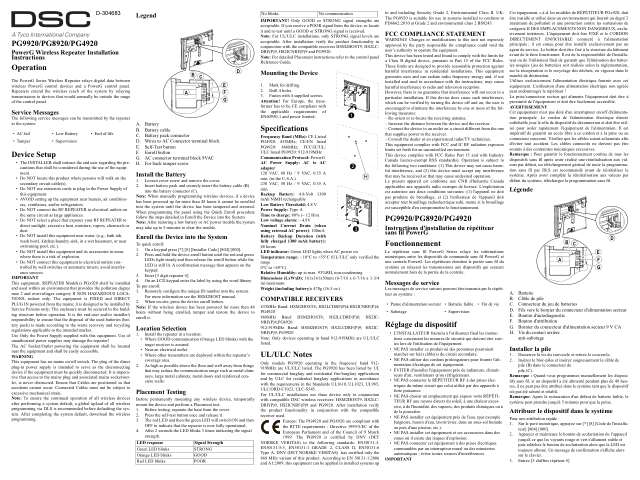
Pages 4, 13, 30 to 32 of the Neo V1.3 User manualPage 58 of the NEO V1.3X Reference01 Service required Siren circuit, radio jamming, aux power or clock problem. Set the clock again; call for service for the rest 02 Battery The panel's backup battery, or a power module's, is low or missing 04 AC / AC Loss Mains power is off. The system runs on battery for several hours; no trouble beeps for this one 05 Device fault / Zone Fault A detector, keypad, siren or repeater has a fault 06 Device battery / Wireless Low Battery A wireless detector, keypad, siren, repeater or remote needs a new battery 07 Device tamper / Zone Tamper A device has been opened or tampered with 11 Communications / Phone Trouble, Communication Failure The phone line, cellular or internet link to the monitoring station has a fault 03, 08, 09, 10, 12 Wiring, radio or module problems: call for service Send a test signal*6master code04OptionsUser Functionsmaster codeSystem Test
- Disarm first: the Ready light must be on. Ring your monitoring company before the test, and again afterwards.
- HS2LCD: press [*][6], the master code, then [0][4]. HS2TCHP: tap Options, User Functions, enter the master code, tap System Test.
- It sends a System Test report to your monitoring company, if your installer has set that up. Each PIR camera, if fitted, sends them two photos.
- The sirens and keypad sounders sound for 2 seconds and the keypad lights come on. HS2LCD: press [#] to leave.
Why is my keypad beeping or showing a trouble light?
Most keypads beep or light up a trouble indicator when something needs attention, such as a low backup battery, a power cut or a lost phone or internet connection. Your user guide explains what each light or code means on your model. If it keeps happening, or you are not sure, call your installer or monitoring company.
All DSC PowerSeries Neo manuals
User guides 8
Installer manuals 81



Nothing here matches that.
Try a shorter search, or search every brand.
More DSC models
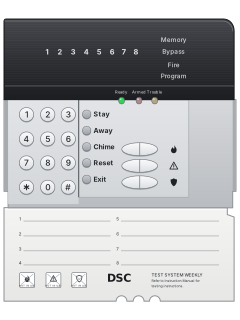
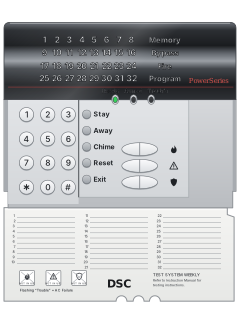
PowerSeries PC5532Z LED keypad, flap open (PC5516Z keys are the same)
PowerSeries PC5010 / PC5020 / 832
21 manuals
Also fitsPC1565, 4 manuals
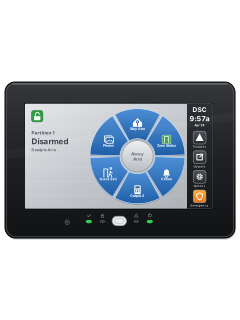
- Keypads1 user guide and 4 other manuals5 manuals
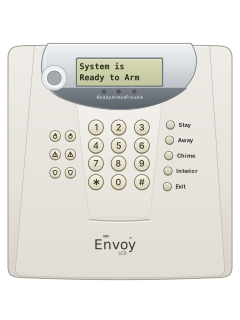
- Envoy1 user guide, 1 installation manual and 2 more4 manuals
- Impassa1 user guide and 3 installation manuals4 manuals
- PC10001 user guide and 1 installation manual2 manuals
- PC14041 user guide and 1 installation manual2 manuals
- PC20001 installation manual and 1 manual2 manuals
- WLS9001 user guide and 1 installation manual2 manuals
- SCW9045 / SCW90471 installation manual1 manual
- IP & cellular modules1 quick guide, 4 installation manuals and 9 more14 manuals
Is anyone watching your alarm?
An alarm that only makes a noise relies on someone hearing it. A monitored alarm reports to our A1 graded, NZSA approved control room, watched 24/7 by a team that is New Zealand owned and operated. We can monitor most existing alarms, so you may not need a new one. Thinking about a new alarm or security cameras? Ask us for a quote.
Prefer to talk now? Call us on 0800 339 999.
Home: alarm monitoringBusiness: business monitoringInstaller: bureau monitoring

Manuals are the property of their manufacturers and are provided for reference only; their inclusion here does not imply any endorsement by the manufacturer.