
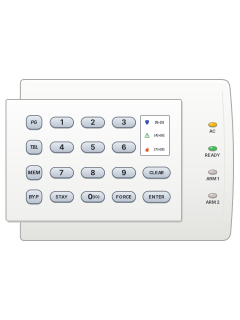
1686HLED keypad (landscape)

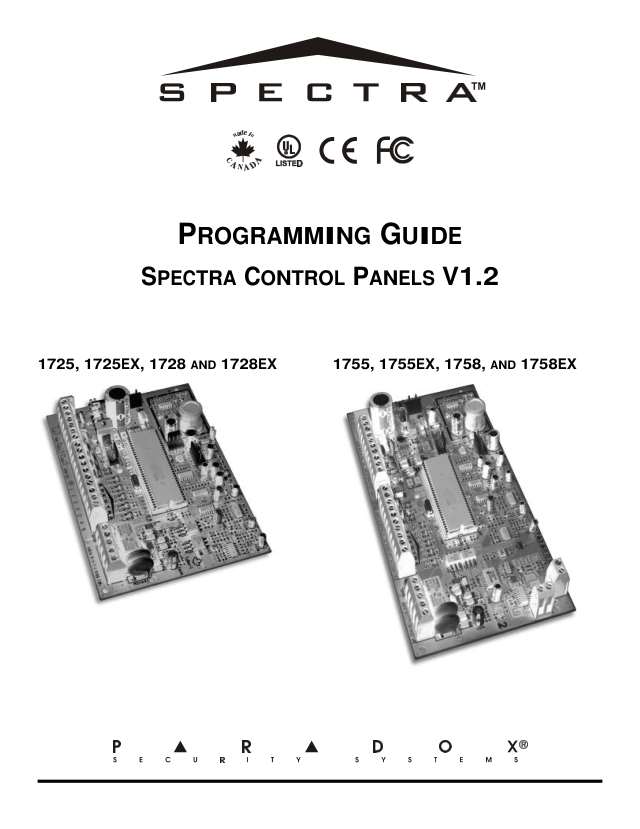
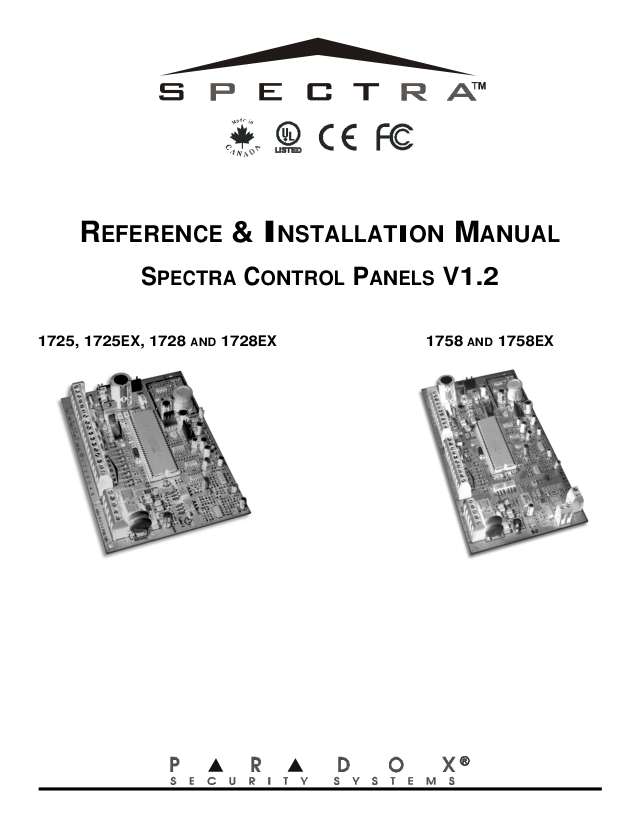
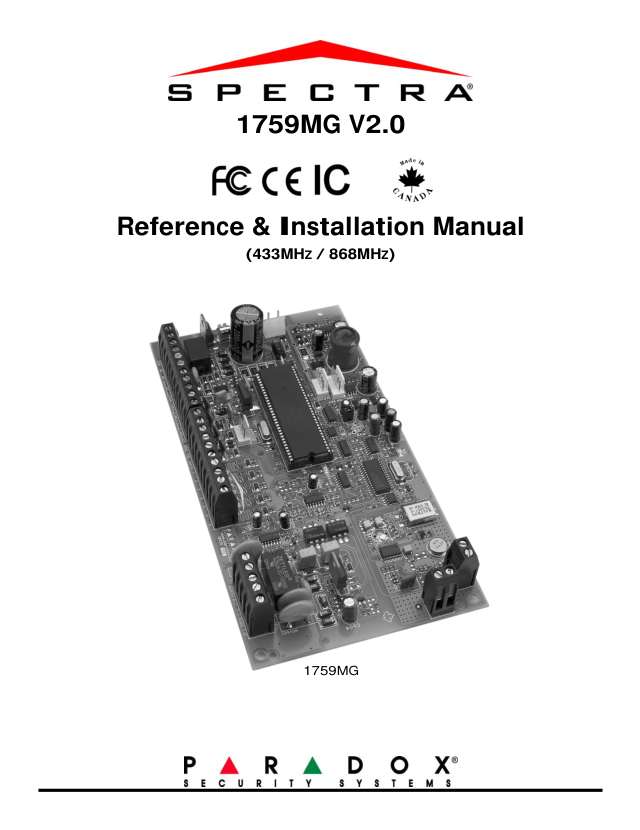
Paradox Spectra manuals
Start hereSpectra 1640 Icon LCD Keypad User GuideUser guide · 44 pages · 1.1 MBRead it nowKeypad cheat sheet
Arm (away)your code
- For Spectra 1686H/V and 1689. Open the keypad cover to reach the number and function keys.
- Close all zones in the area, then key in your code to Regular arm.
- Two areas? Press [1] or [2] for the one you want; for both, press the other after the confirmation beeps.
- Leave before the exit time ends. On 1686H/V, ARM lights and READY flashes during the exit time.
- If your installer enabled it, hold [ENTER] for 3 seconds to arm. Spectra 1727 users should follow their own arming guide.
Arm while homeSTAYyour code
- For Spectra 1686H/V and 1689. Open the keypad cover to reach the number and function keys.
- Stay leaves the programmed Stay zones off. Close other zones, press [STAY], then key in your code.
- Two areas? Press [1] or [2]; for both, press the other after the confirmation beeps.
- On 1686H/V, ARM flashes while Stay armed. Your code needs Stay-arming permission from the installer.
- On an unpartitioned system, hold [STAY] for 3 seconds during exit time for Instant arming: armed zones alarm immediately.
Disarmyour code
- For Spectra 1686H/V and 1689. Open the keypad cover to reach the number and function keys.
- Enter through your entry door, then key in your code before the entry time ends.
- Two areas? Press [1] or [2] for the one you want; for both, press the other after the confirmation beeps.
- The keypad confirms with beeps and the armed indication goes out. Your code also silences an alarm.
- False fire alarm? Ring your monitoring company. On a delayed fire zone, [CLEAR] within 30 seconds delays the report.
Bypass a zoneBYPyour codezoneENTER
- For Spectra 1686H/V and 1689. Open the keypad cover to reach the number and function keys.
- With bypass permission enabled by your installer, press [BYP], then key in your code. Fire zones can't be bypassed.
- Two areas? Press [1] or [2] first. Pick the zones: on a 1686H/V, press each zone's key ([0] is zone 10), and again to undo.
- Press [ENTER] to save. Bypasses clear when you disarm; on a 1686H/V, [BYP] stays lit until then.
- To recall last time: [BYP], your code, choose the area if asked, [BYP], then [ENTER].
Alarm memoryMEM
- For Spectra 1686H/V and 1689. Open the keypad cover to reach the number and function keys.
- After disarming, press [MEM] to view the zones that went into alarm.
- On 1686H/V, the zone number keys light up; a 1689 uses its numbered zone lights.
- Press [CLEAR] to leave. Arming again clears the memory.
- On a 1727, [8] means a keypad panic; [5] means the keypad zone or its tamper.
Chime on or offholdzonehold92-digit zoneENTER
- For Spectra 1686H/V and 1689. Open the keypad cover to reach the number and function keys.
- 1686H/V: hold a zone key for 3 seconds ([0] is zone 10). A run of beeps means on; one long beep means off.
- 1689: hold [9], enter each 2-digit zone number (01 to 16), then [ENTER]. A lit zone LED means chime is on.
- Chime beeps when the chosen zone opens. Each keypad is set separately.
Panic alarmhold1+3orhold4+6orhold7+9
- For Spectra 1686H/V and 1689. Open the keypad cover to reach the number and function keys.
- Hold both number keys for 2 seconds, only if your installer has enabled that panic.
- The guide suggests [1]+[3] for police, [4]+[6] for medical and [7]+[9] for fire.
- Your installer chooses what each panic reports and whether it sounds the siren.
- 1727 panels have only the [1]+[3] panic. A 1640 picture-key keypad requires a 3-second hold.
Change a codeENTERmaster codeuser numbernew codeCLEAR
- For Spectra 1686H/V and 1689. Open the keypad cover to reach the number and function keys.
- Press [ENTER] and enter the master code, then the 3-digit user number (such as 004).
- Enter the new 4- or 6-digit code. Enter another user number, or press [CLEAR] to finish.
- Only the System Master Code can change users in both areas; other master codes cover their own area.
- 1727: use a 2-digit number instead: 02 for the master and 03 to 09 for users 1 to 7.
Set the date and timeENTERmaster code100time
- For Spectra 1728/1738 with 1686H/V or 1689. Open the cover to reach the keys.
- Press [ENTER], key in the master code, then [1] [0] [0].
- Enter four digits for the 24-hour time, hours then minutes. The LED-keypad procedure sets time only.
- 1641BL LCD v1.2 or later: follow its time-format prompt, then enter the date as year, month, day; it saves automatically.
- If Timer Loss is shown, you can also select [8] in the trouble display and enter the time.
Trouble lightsTBL
- For Spectra 1686H/V and 1689. Open the keypad cover to reach the number and function keys.
- 1686H/V: when [TBL] lights, press it. The number keys that light show the trouble (see the table).
- 1689: when the TRBL light comes on, press the trouble key. Its zone lights show the trouble, numbered as in the table.
- Press [CLEAR] to leave. Tell your installer about any trouble except Timer Loss, which needs the clock set again.
- If trouble beeps are on, the keypad beeps every 5 seconds; pressing the trouble key stops them.
Pages 7, 9 to 12 of the Spectra LED keypad manualPages 48 and 49 of the 17X8-v2 Install[1] Backup battery disconnected or low [2] A wireless device's battery is low [3] Mains power is off (the AC light goes out too) [4], [5] or [6] Siren disconnected, or the siren or power output overloaded [7] or [0] (10) Couldn't reach the monitoring company, or no phone line found [8] Timer Loss: set the clock again [9] Zone wiring or tamper fault: press [9] to see which zones [STAY], [BYP], [MEM] or [FORCE] (on a 1689: 11, 12, 13 or 16) Fire zone wiring, a lost module, a lost wireless device, or a keypad fault Send a test signalENTERmaster codeMEM
- For Spectra 1686H/V and 1689. Open the keypad cover to reach the number and function keys.
- Use it when your installer or monitoring company asks. Press [ENTER], key in the master code, then press [MEM].
- If your system is monitored, this sends a test report to your monitoring company.
Why is my keypad beeping or showing a trouble light?
Most keypads beep or light up a trouble indicator when something needs attention, such as a low backup battery, a power cut or a lost phone or internet connection. Your user guide explains what each light or code means on your model. If it keeps happening, or you are not sure, call your installer or monitoring company.
All Paradox Spectra manuals
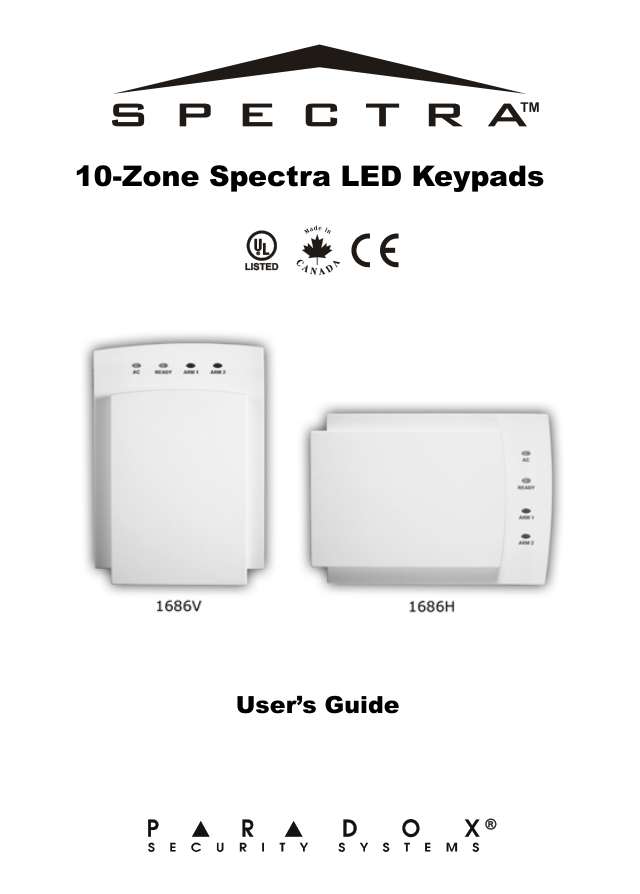
User guides 4
Installer manuals 12
Nothing here matches that.
Try a shorter search, or search every brand.
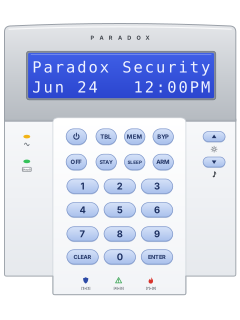
More Paradox models
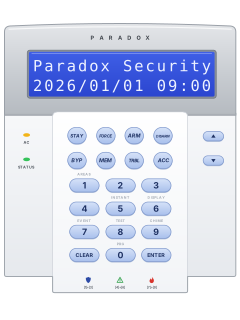
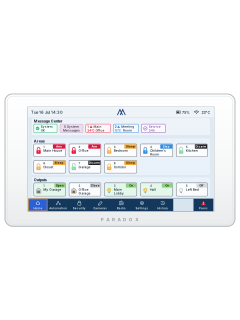
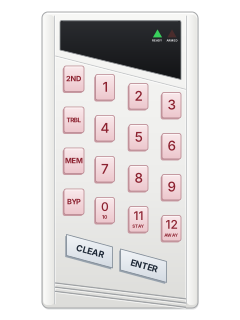
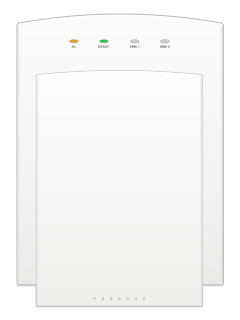
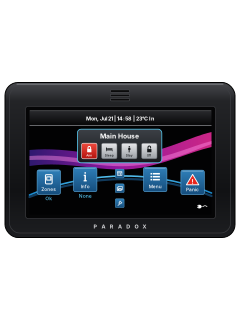
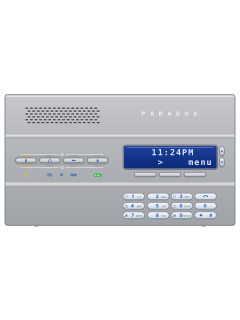
- Esprit E55 / E651 user guide, 1 installation manual and 2 more4 manuals
- K10 LED keypads1 quick guide1 manual
- K70M touchscreen1 installation manual1 manual
- K656 Touch Sense keypad1 user guide1 manual
- Magellan MG60601 user guide1 manual
- IP & cellular modules1 quick guide, 5 installation manuals and 29 more35 manuals
Is anyone watching your alarm?
An alarm that only makes a noise relies on someone hearing it. A monitored alarm reports to our A1 graded, NZSA approved control room, watched 24/7 by a team that is New Zealand owned and operated. We can monitor most existing alarms, so you may not need a new one. Thinking about a new alarm or security cameras? Ask us for a quote.
Prefer to talk now? Call us on 0800 339 999.
Home: alarm monitoringBusiness: business monitoringInstaller: bureau monitoring

Manuals are the property of their manufacturers and are provided for reference only; their inclusion here does not imply any endorsement by the manufacturer.